


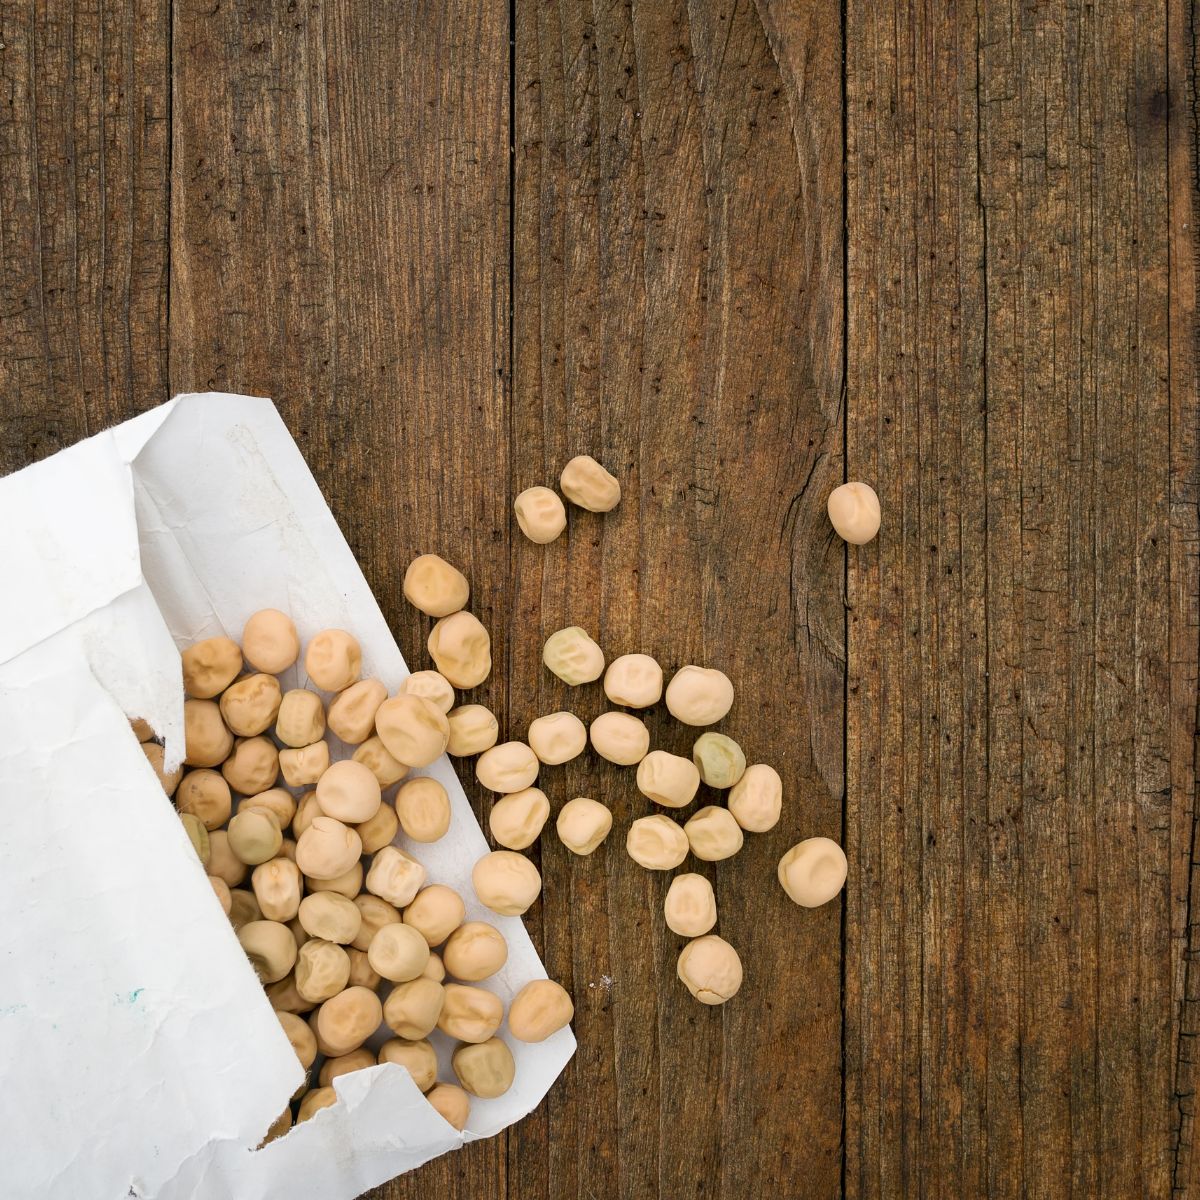
 Gardeners commonly overlook storing their seeds correctly; it is understandable when you want to spend your time in the garden planting! Viability of seed is very important though as it determines the success of all your gardening efforts. Seeds sold reputably by trusted suppliers are batch tested for their germination rate to ensure they meet the standards.
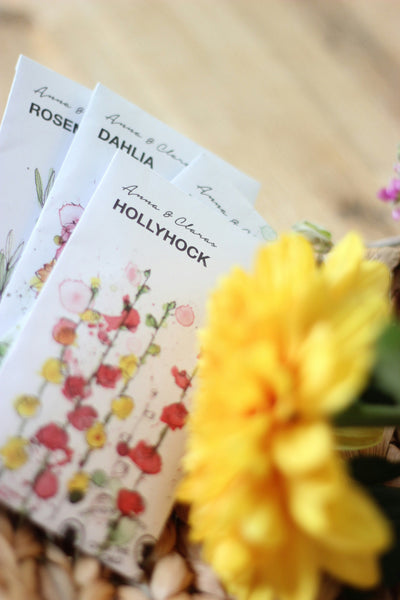
Generally the acceptable rate for germination is around 85% but many seeds test higher than this, often at 90-95% viability. After your seeds pass through these rigorous tests they are packaged up and given a unique ‘’sow by’’ date. A sow by date is an indication of how long your seeds will store for and still produce acceptable germination rates. The sow by date can only act as a guide however, as this will depend on the conditions the seeds are stored in.
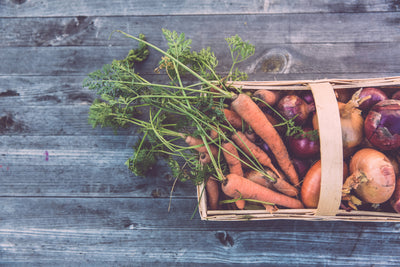
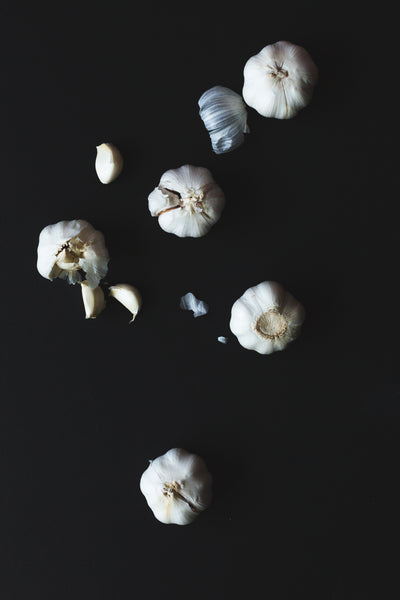
It is handy to know that different seeds varieties each have their own specific timeframe of viability too. As an example, seeds of the Allium family including onions, leeks and chives naturally have a much shorter shelf life than other vegetables such as lettuce and celery. Thankfully, by following the recommended sow by date much of this guess work is figured out for you, all you need to do is remember to check the back of your packets.
What else can determine seed viability you may wonder? Exposure to sunlight, fluctuations in temperature, moisture & humidity all influence the viability of your seed so it is handy to regularly stock take all your goodies to give you the best results. You can even organise them in some nifty containers to avoid any mix-ups with old seeds.
Ideal Storage Conditions
For optimal performance, keep seeds in a cool, dry and dark area indoors. Take them out of your garden shed or garage where there is little insulation, they will experience more temperature fluctuations in those places. The idea is to keep the temperature quite stable all year round.
Humidity is also an issue with seed storage as it can cause mold to grow or seeds to rot. To prevent this seal up sachets with a clip between uses and add some rice to the bottom of your containers to absorb moisture and condensation. Some people prefer to store their seeds in the refrigerator particularly in warm humid climates. If you do this, be sure to pop the packets into an airtight container first and make sure they are not near any cold spots that could accidently freeze the seeds.

DIY Storage Ideas
The sky is the limit when it comes to creating your own seed storage. If you have a particularly large stockpile of seeds an old photo album is a great place to stash all your packets. You can separate them by season or alphabetical order so you know exactly where everything is. Alternatively, if you have the perfect spot in your pantry try repurposing some glass spice jars and put them on their own shelf or rack.
You could also have a go at decorating some old biscuit tins and store your packets in those or try some craft containers designed for beads or even pillboxes, these will keep everything nicely separated.
Remember to label your containers with the variety you are growing and the sow by date. Ideally, you can attach the seed packet to the front. This means you have all of the other useful information on hand too such as planting times and soil requirements.

What Can I Do with Expired Seed?
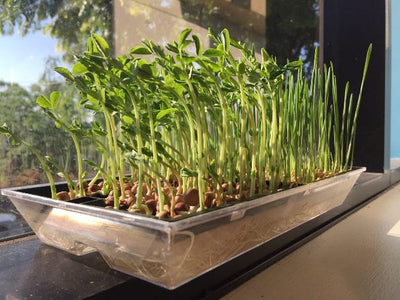
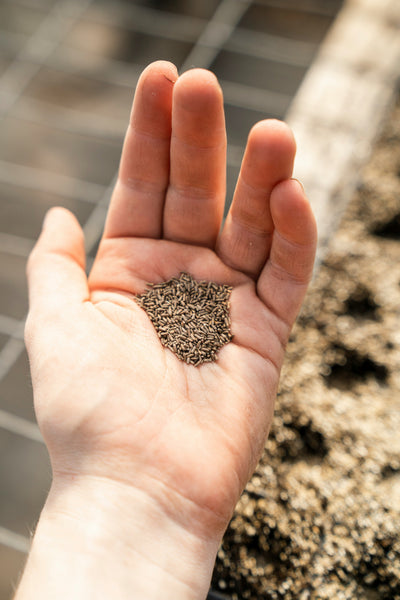
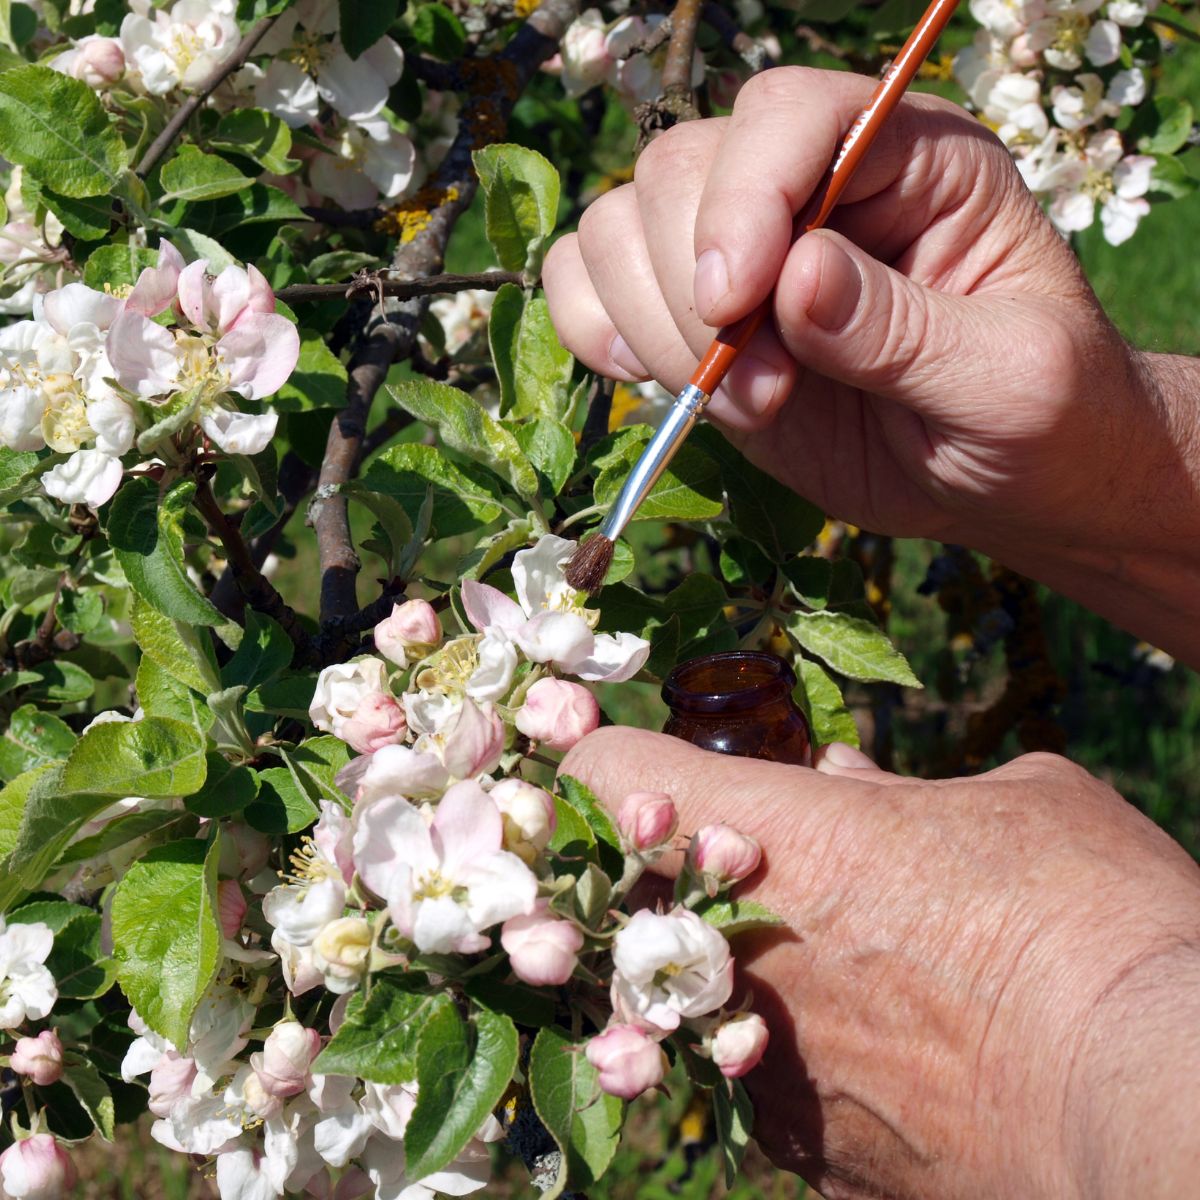
Before throwing away an out-of-date seed packet it is worth performing a viability test. Grab ten or so seeds and some damp paper towel and lay them down on the paper. Fold up the paper and place inside a plastic container or Ziplock bag. Keep this warm and moist and wait to see what begins to sprout in about week or two. If only half of your seeds germinate, you will know to double up on your sowing to account for the lowered success.
If you are not certain on the viability on your leftover legume, brassica and mustard seeds consider just mixing them in with a cover crop blend. If they do germinate, it will give you some bonus plant material to dig back into the soil improving the fertility.

