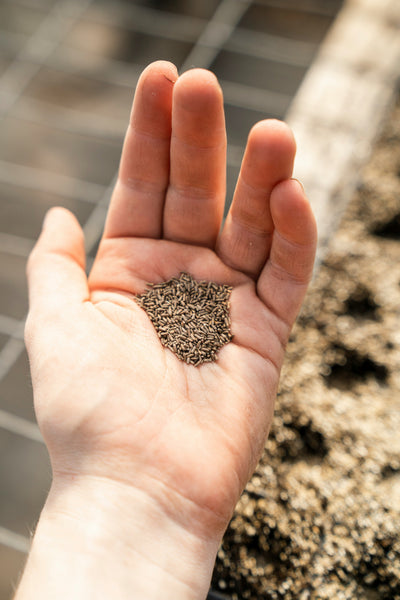
Edible Garden

How To Grow Peanuts

How_to_Expanded_1 How To Grow Peanuts

Peanuts are a delicious crop to produce your very own homegrown snacks. Full of protein and healthy fats peanuts not only are a great food but they are also excellent for soil health too. As a member of the legume family they are easy to grow but can also act as an awesome cover crop, returning nitrogen to the soil at the end of the season.

Did you know Peanuts aren’t really true nuts and don’t in fact grow on trees as many may suspect? They are a low growing legume crop, with the nuts developing underground.

The peanut plant is unique in the way the nuts form. Once the peanuts flowers are pollinated they begin to form a ‘’peg’’ and extend and reach down towards the soil. What was once the flower starts to bury into the ground turning into a pod and later develops into the harder shelled peanut.

Peanuts Classification

Family

Fabaceae

Genus

Arachis

When_to_Plant_Expanded_1 When to Plant Peanuts

With a long growing season peanuts need to be planted early, typically in Spring once the risk of frost has passed and the soil is nice and warm, this will help with germination.

Sowing_Expanded_1 How to Grow Peanuts

Choose a full sun area in your garden that receives at least 6-8hrs of direct sunlight a day. Prepare your soil well by adding in plenty of compost and other organic materials you may have on hand such as coco fibre or peat. Peanuts will enjoy free draining soil that isn’t compacted as it needs to be broken up enough for the pods to bury underground. If you have a heavier clay soil you may need larger amounts of compost and plenty of gypsum to help with the soil texture.

To prepare your peanuts for planting gently remove the outer hard shell, ensuring the inside kernel remains intact with the papery brown skin attached. You can soak these in water overnight before planting to help kickstart germination.

Plant your peanuts about 2.5 cm deep, spaced 10-15 cm apart in rows 60 cm apart. This will allow enough room for the plant to branch out and form the pods.


Plant_Care_Outline_1_1 Caring for Peanuts

When it comes to watering, ensure they have adequate moisture throughout the growing season particularly in arid regions.
To avoid waterlogging the crop be sure to test the soil moisture first by digging down about 5cm around the bed to determine if there is still moisture below.

      
Gently hill soil around your plants when they are about 30cm tall, this will fluff up the soil allowing the pods to easily bury down into the ground where they develop into the peanuts. After hilling add an organic mulch such as sugarcane or straw around the beds to help to suppress weeds. It will also help with moisture retention, preventing a crusty hydrophobic soil that can make it harder for the peanuts to develop.


Harvesting_Outline_1_1 
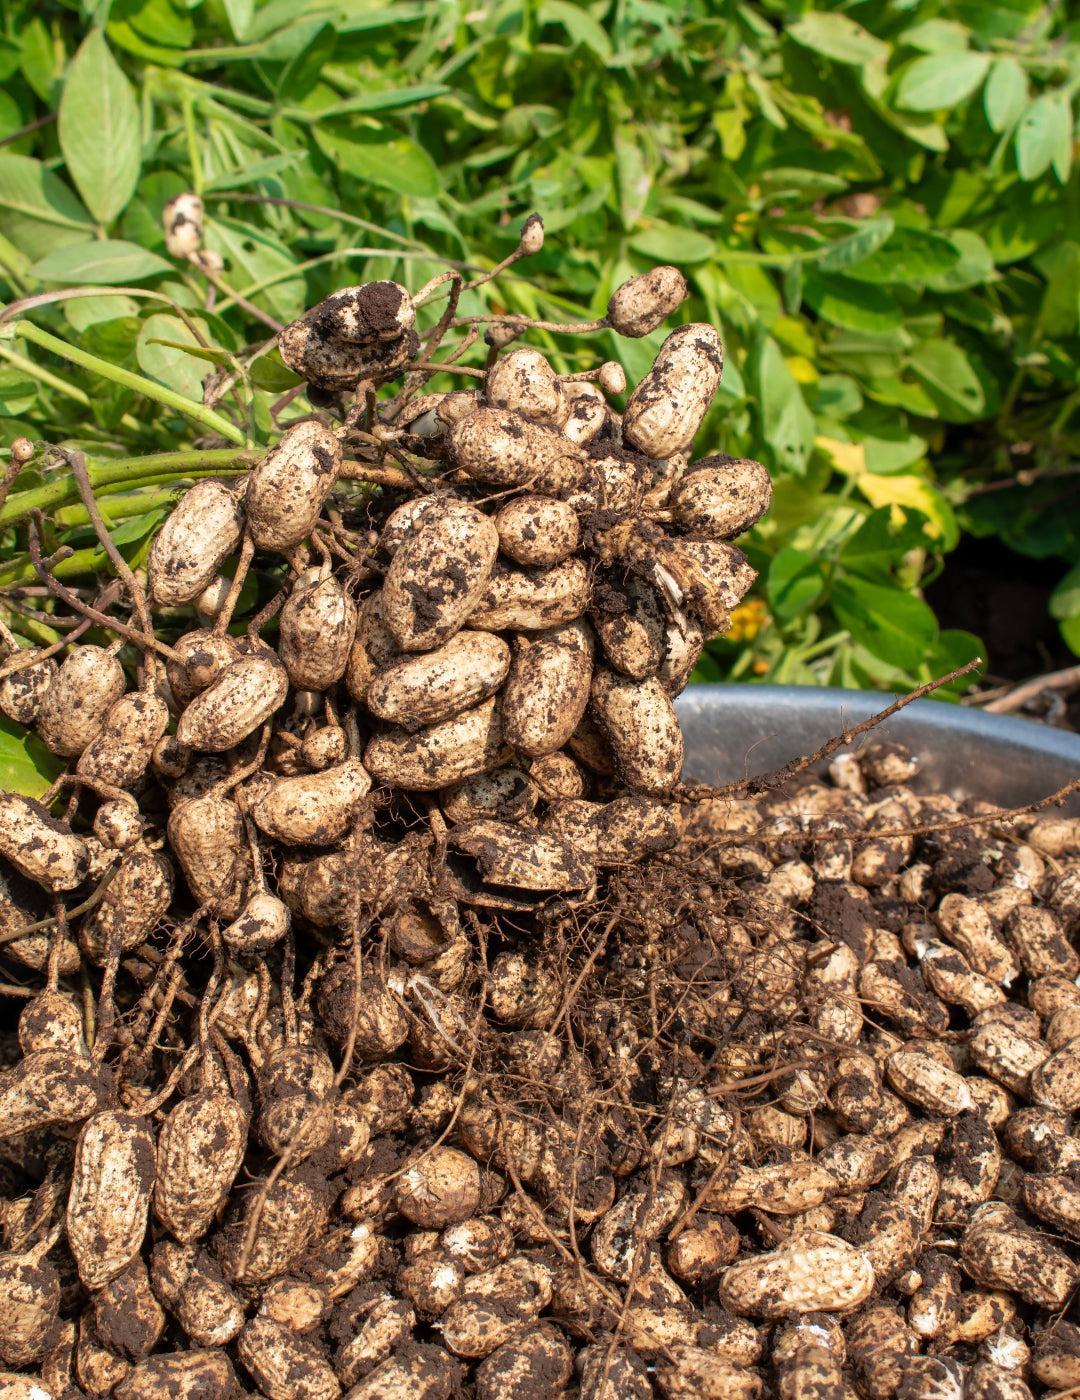
When to Harvest Peanuts

The most important step of peanut harvesting is waiting long enough, until the plant begins to yellow and die back after about 4-6 months. It is similar in how potatoes are grown, as the yellowing of leaves indicates the plant has come to the end of the growing season and has directed all the energy from the plants leaves into formation of peanuts below.

Once you notice these signs it is time to check underground, to see if the plant has matured. Dig around the base of one of the plants and locate the peanuts. The shells will be a creamy brown colour (not green) and have intricate veins on the surface. If all looks good and the peanut inside is no longer white in colour begin to remove the whole plant. You may need to use a garden fork to gently loosen the soil and then lift out the entire plant including the roots and nuts.

Now comes the time for drying your crop. Brush off any excess dirt and lay or hang the plants, peanuts and all in a dry, airy spot for a few days. Once the plants have sufficiently dried out you can start removing the peanut shells from the plants. Allow these shells to further dry for a few weeks before storing in the pantry.

*Handy tip* Don’t throw out the dried plants, they make excellent mulch or compost and will add nutrition back into your soil!

It’s as simple as that! You can turn your homegrown peanuts into tasty peanut butter by removing the shells and papery layer inside and then lightly roasting in the oven. Blitz the roasted nuts in a high-speed
blender or food processor until your desired consistency. You can also enjoy them as a simple snack to shell and eat just as they are, or roast and lightly salt them for that classic taste. 

Featured Products

View all products
View all products
Dana_Bolton

Dana Bolton

Horticulturalist

  1. Dana has spent the last 10 years working in the horticultural field both for local government and the private sector. At Mr Fothergill's Seeds, she shares her expertise through growing advice and tips, answers live chat questions, and writes information for new seed lines. 
Read all Dana Bolton's Articles
Guide Chapters

Guide Chapters

  • How_to_Expanded_1 How to Grow
  • When_to_Plant_Expanded_1 When to Grow
  • Sowing_Expanded_1 Sowing
  • Plant_Care_Outline_1_1 Plant Care
  • Harvesting_Outline_1_1 Harvesting