
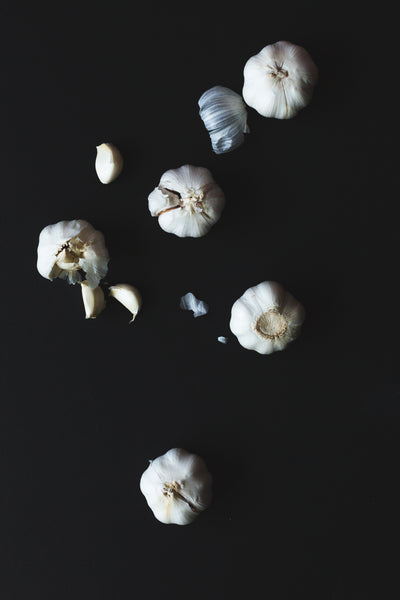


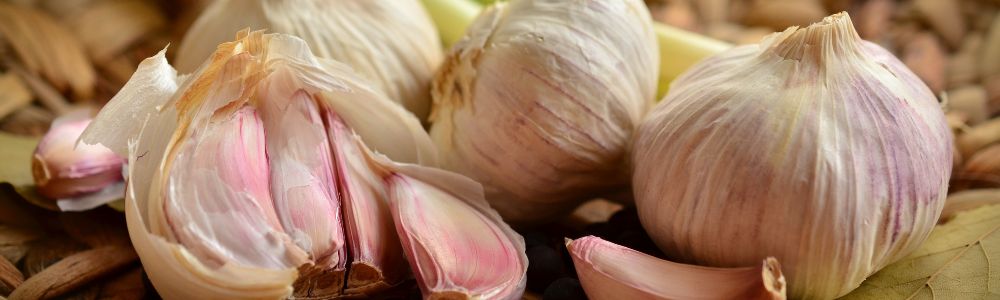
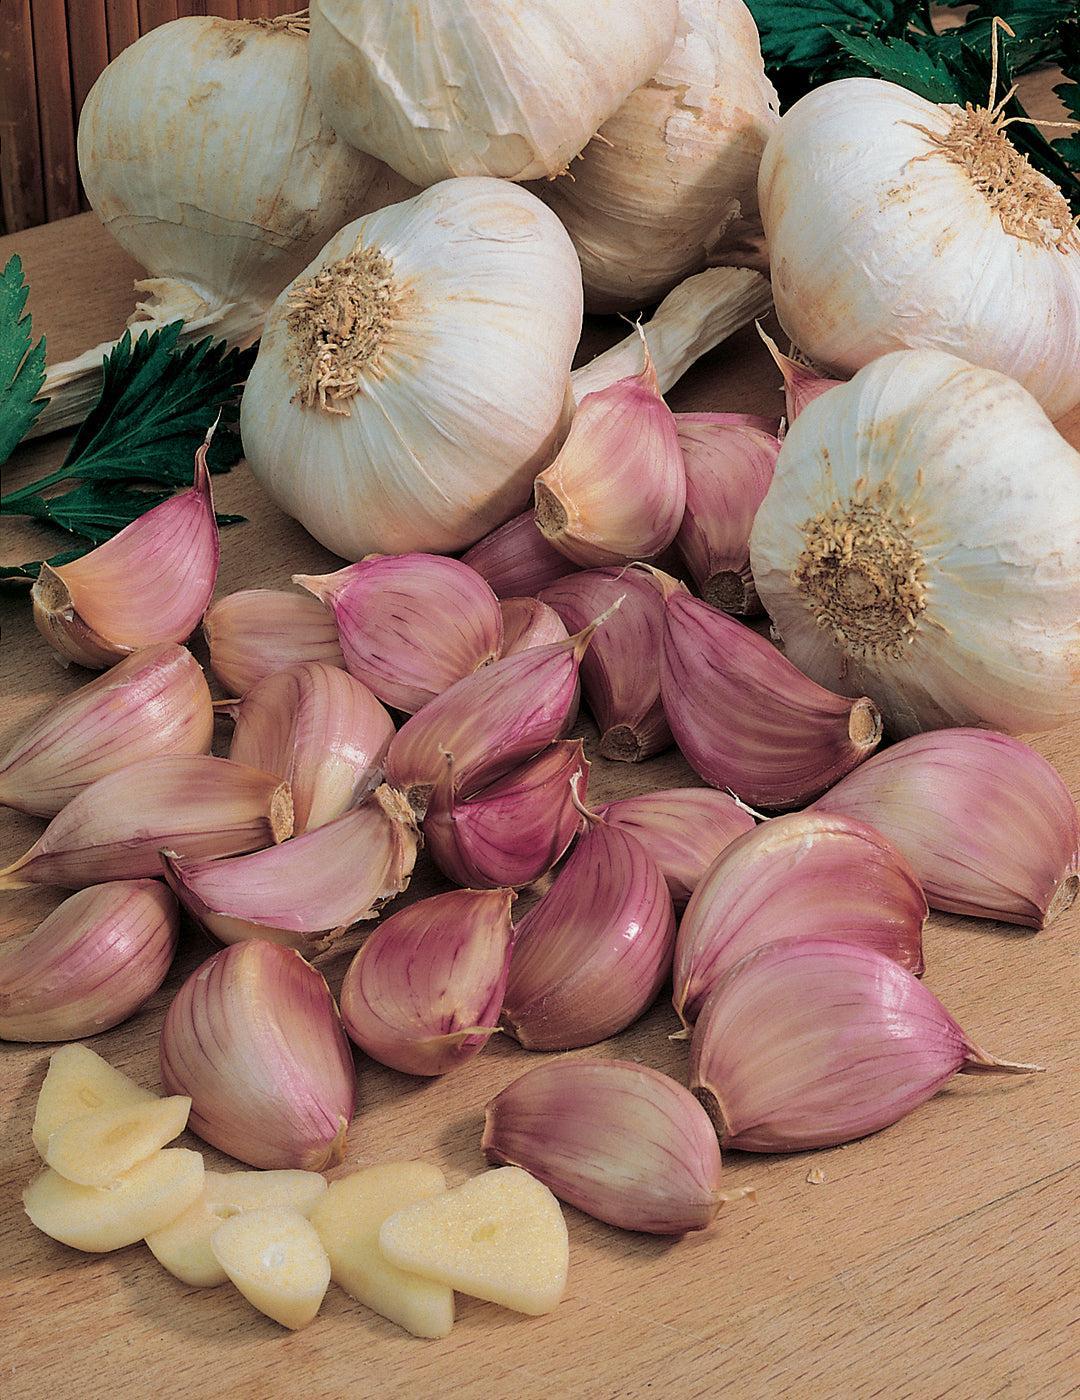
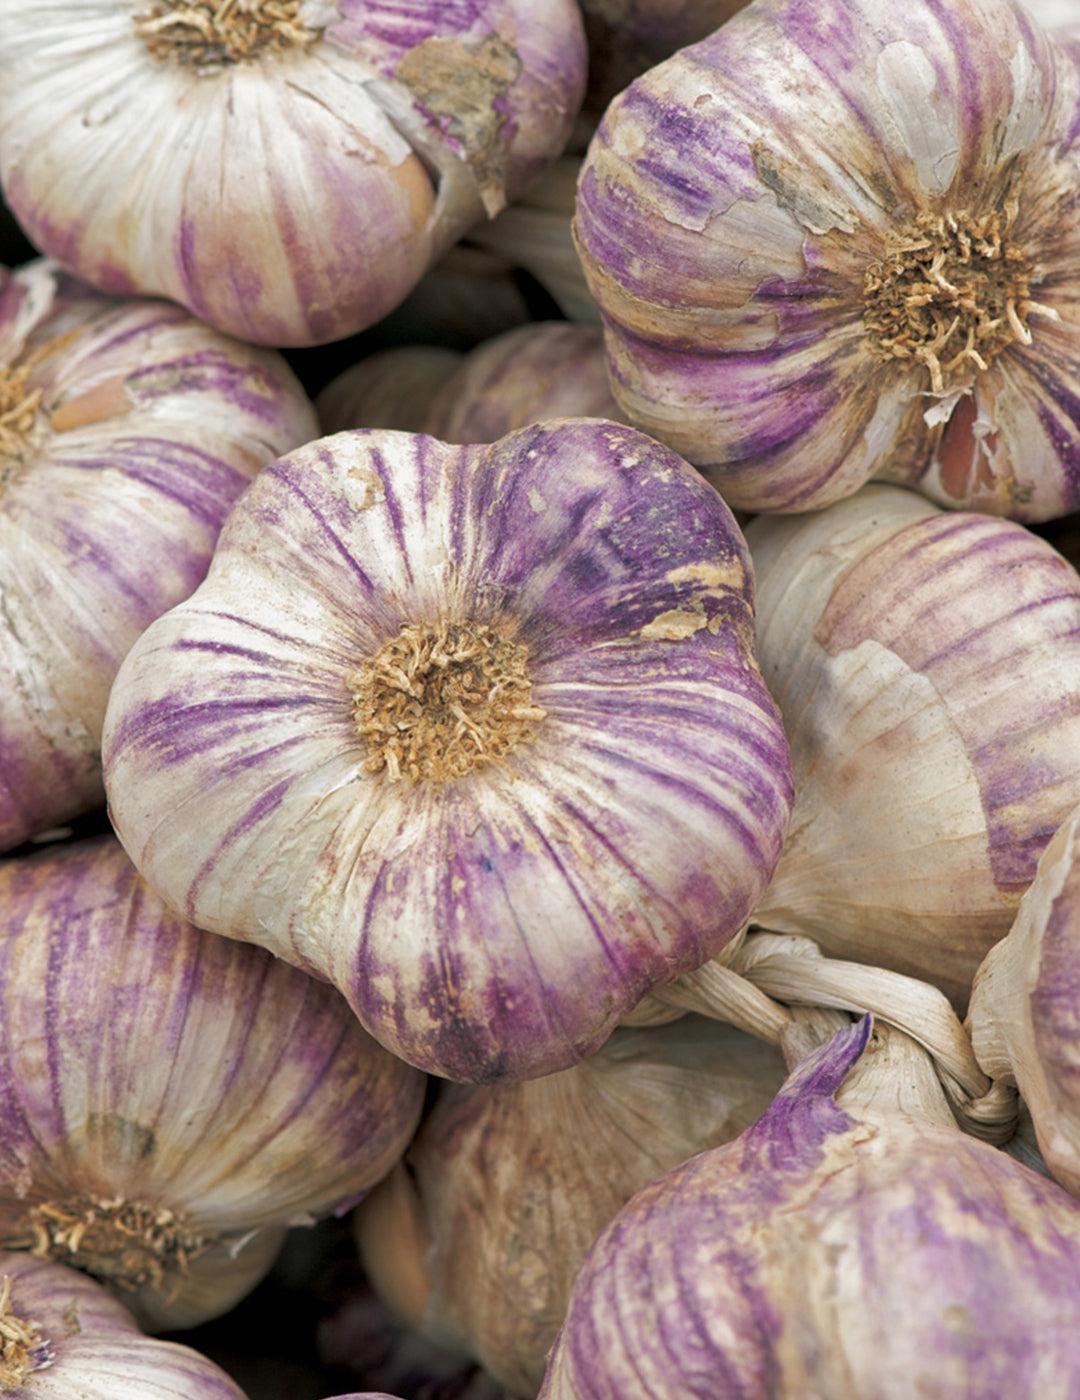
 How to Grow Garlic

 When to Plant Garlic

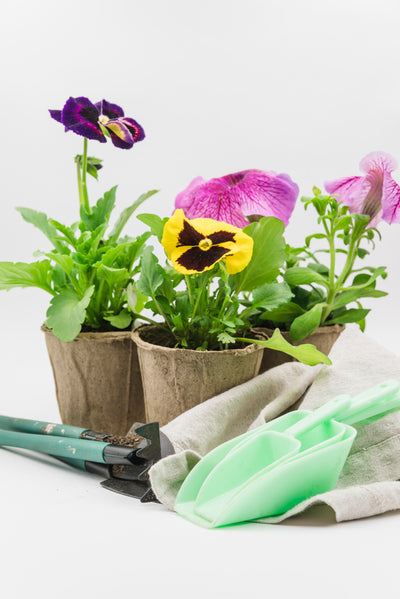
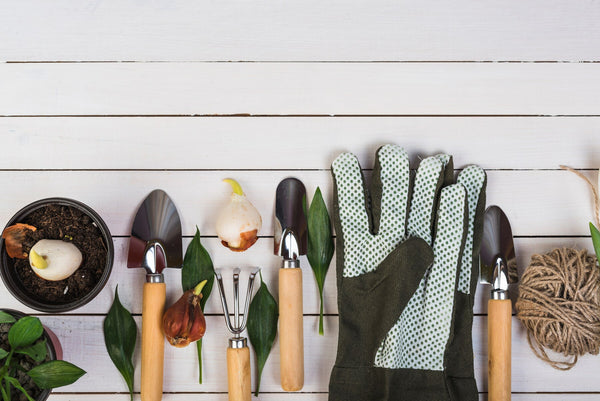
 Soil Preparation

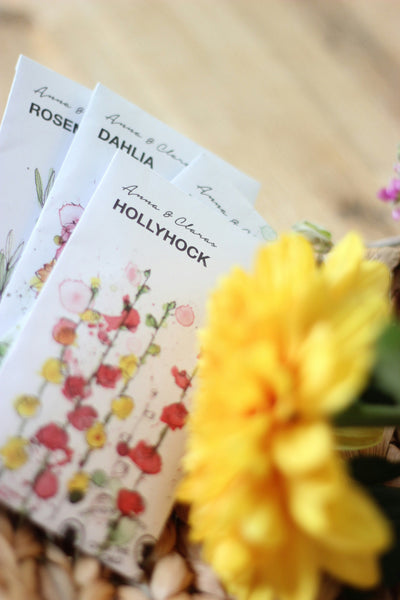
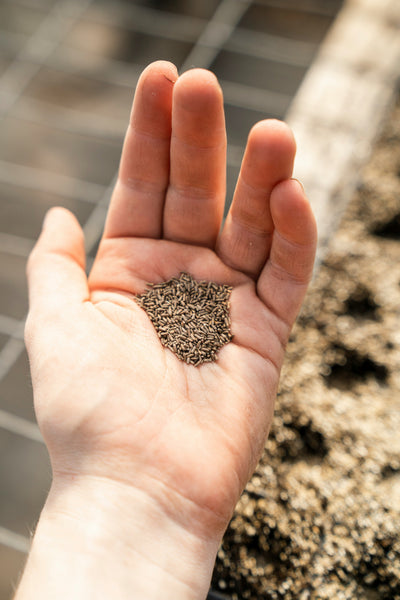
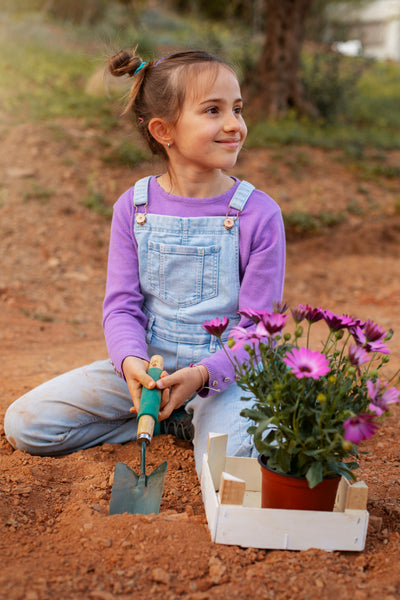
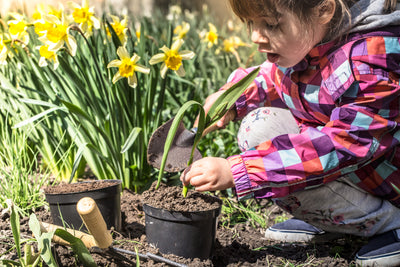
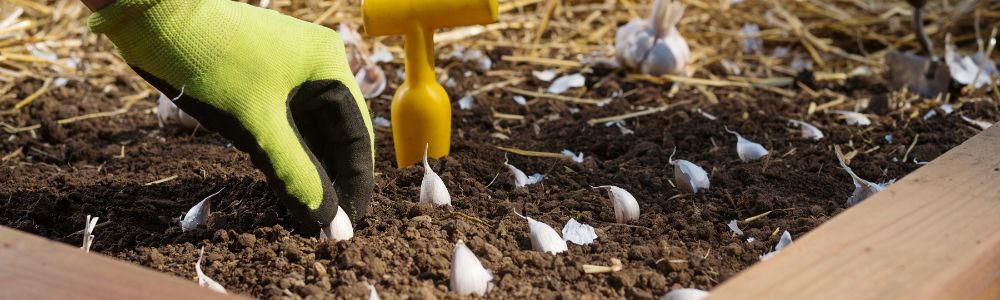
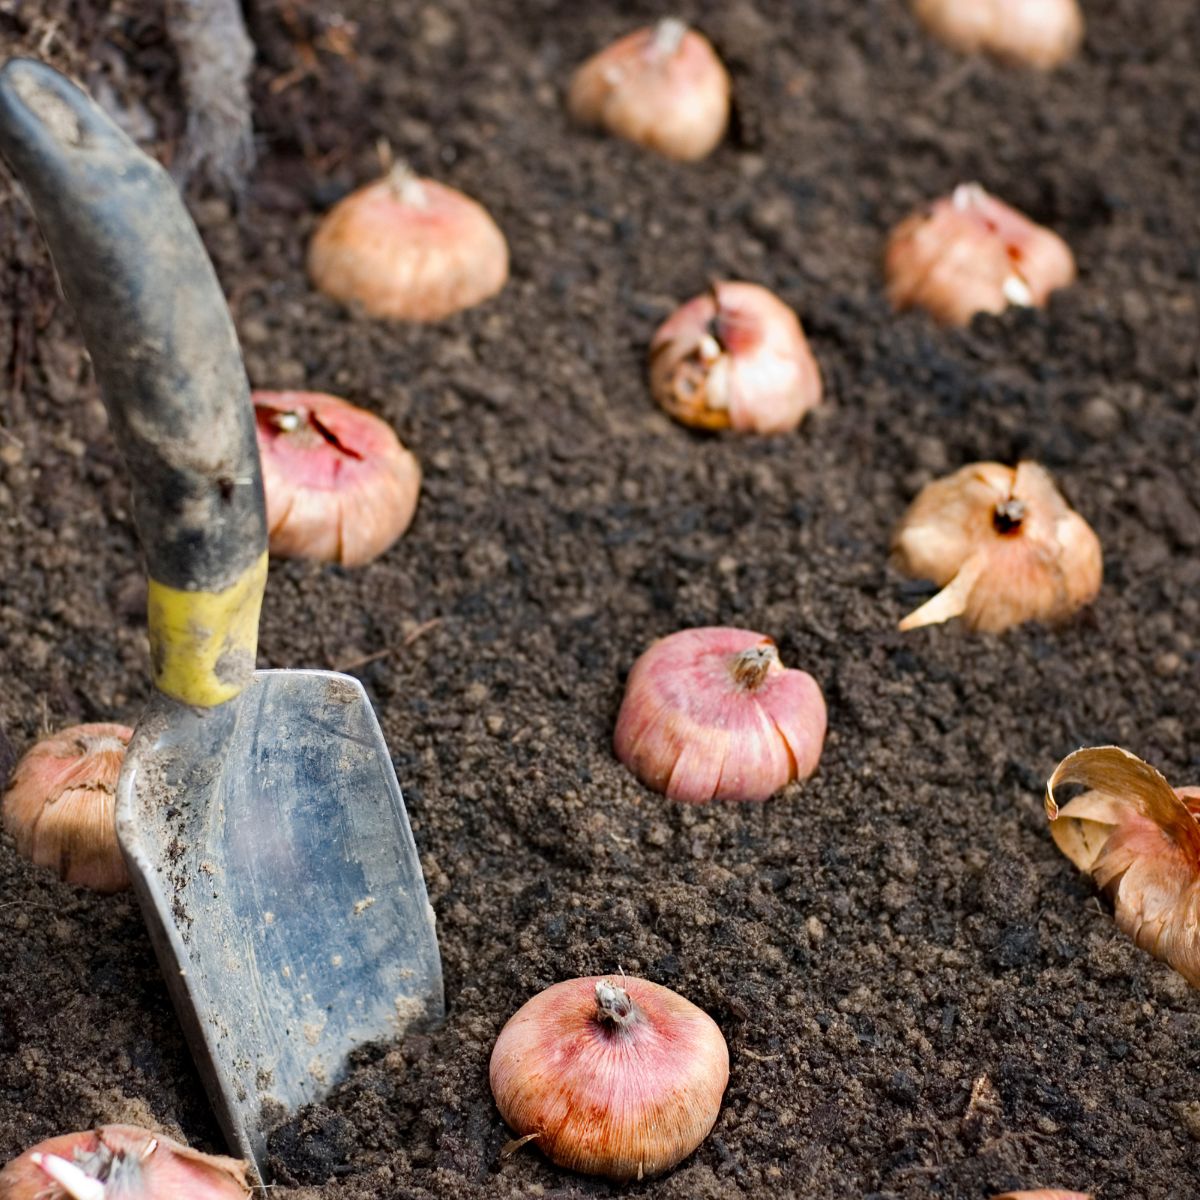
 How to Plant Garlic


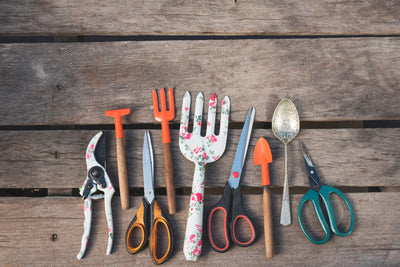
 Plant Care & Tips

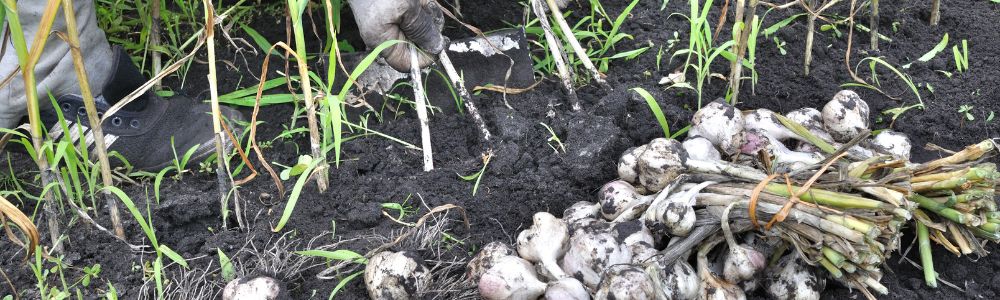
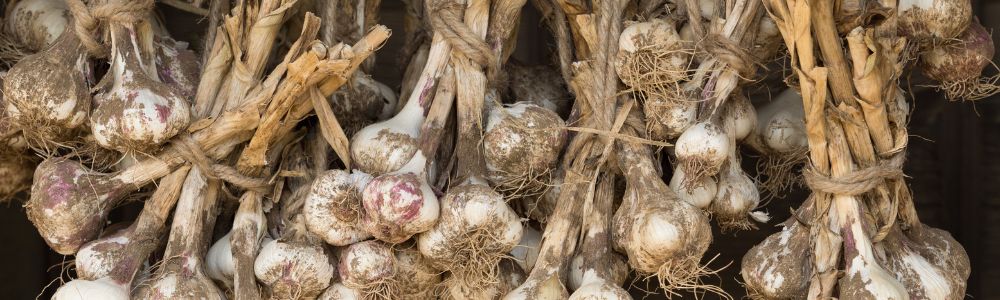
 Harvesting

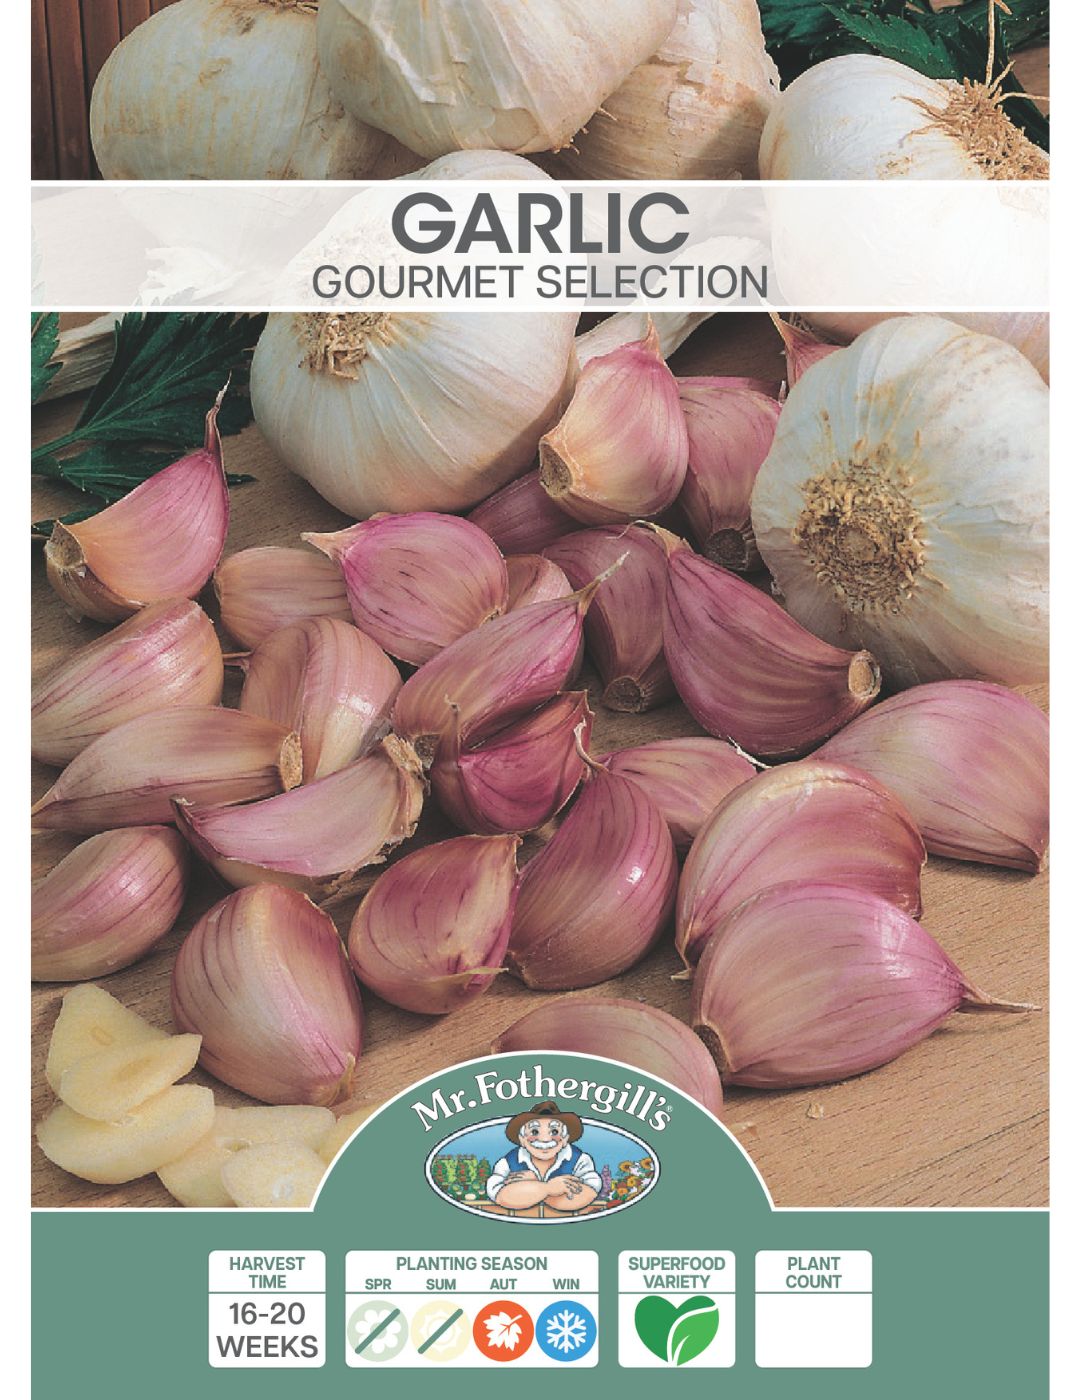
Buy Garlic Bulbs at Mr Fothergill’s

Guide Chapters
Guide Chapters
-
How to Grow
-
When to Grow
-
Soil Preparation
-
Planting
-
Plant Care
-
Harvesting
- Shop Mr Fothergill’s

