


While images of the famous Italian dish may come to mind, don’t mistake a spring bulb lasagne for delicious pasta. Swap the cheese and sauce for soil and bulbs, because this technique is an excellent way to ensure your garden enjoys blooms of flowers season after season.
In this article, we will cover everything you need to know about spring bulb lasagnes, including what they are, why they are a terrific option for your garden, and the all-important steps for how to plant your own lasagne for the perfect spring-flowering garden.
What Is a Bulb Lasagne?
Much like its culinary namesake, a bulb lasagne involves layering. Instead of layers of pasta, however, this technique involves planting layers of spring-flowering bulbs in a single pot to achieve a staggering effect whereby different blooms follow one another in your flower garden.
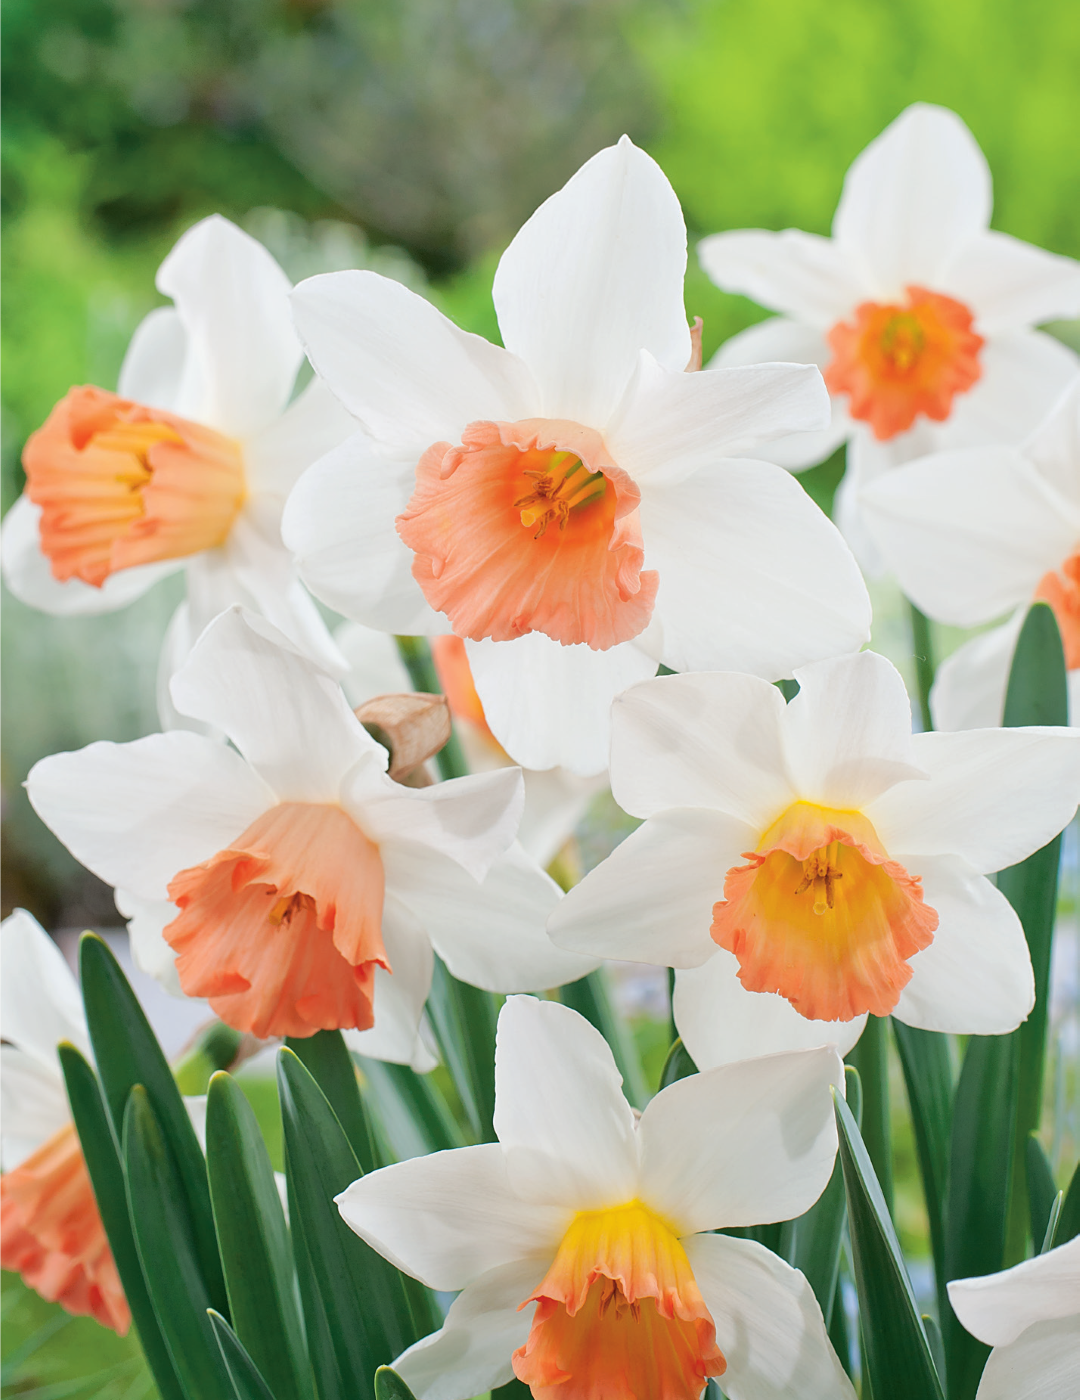
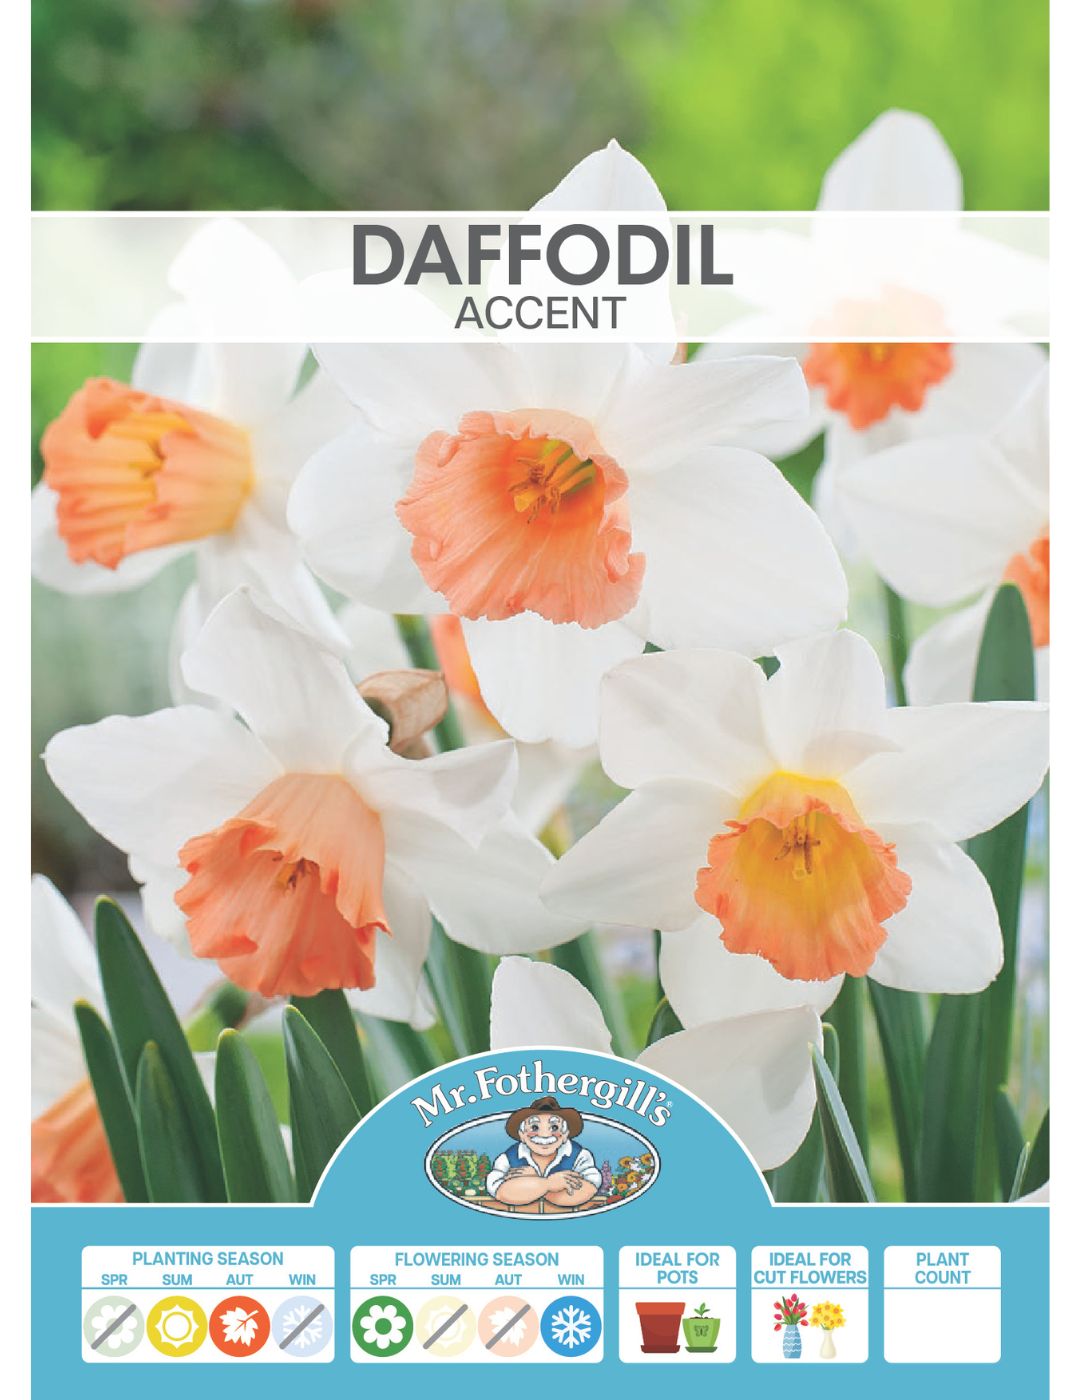
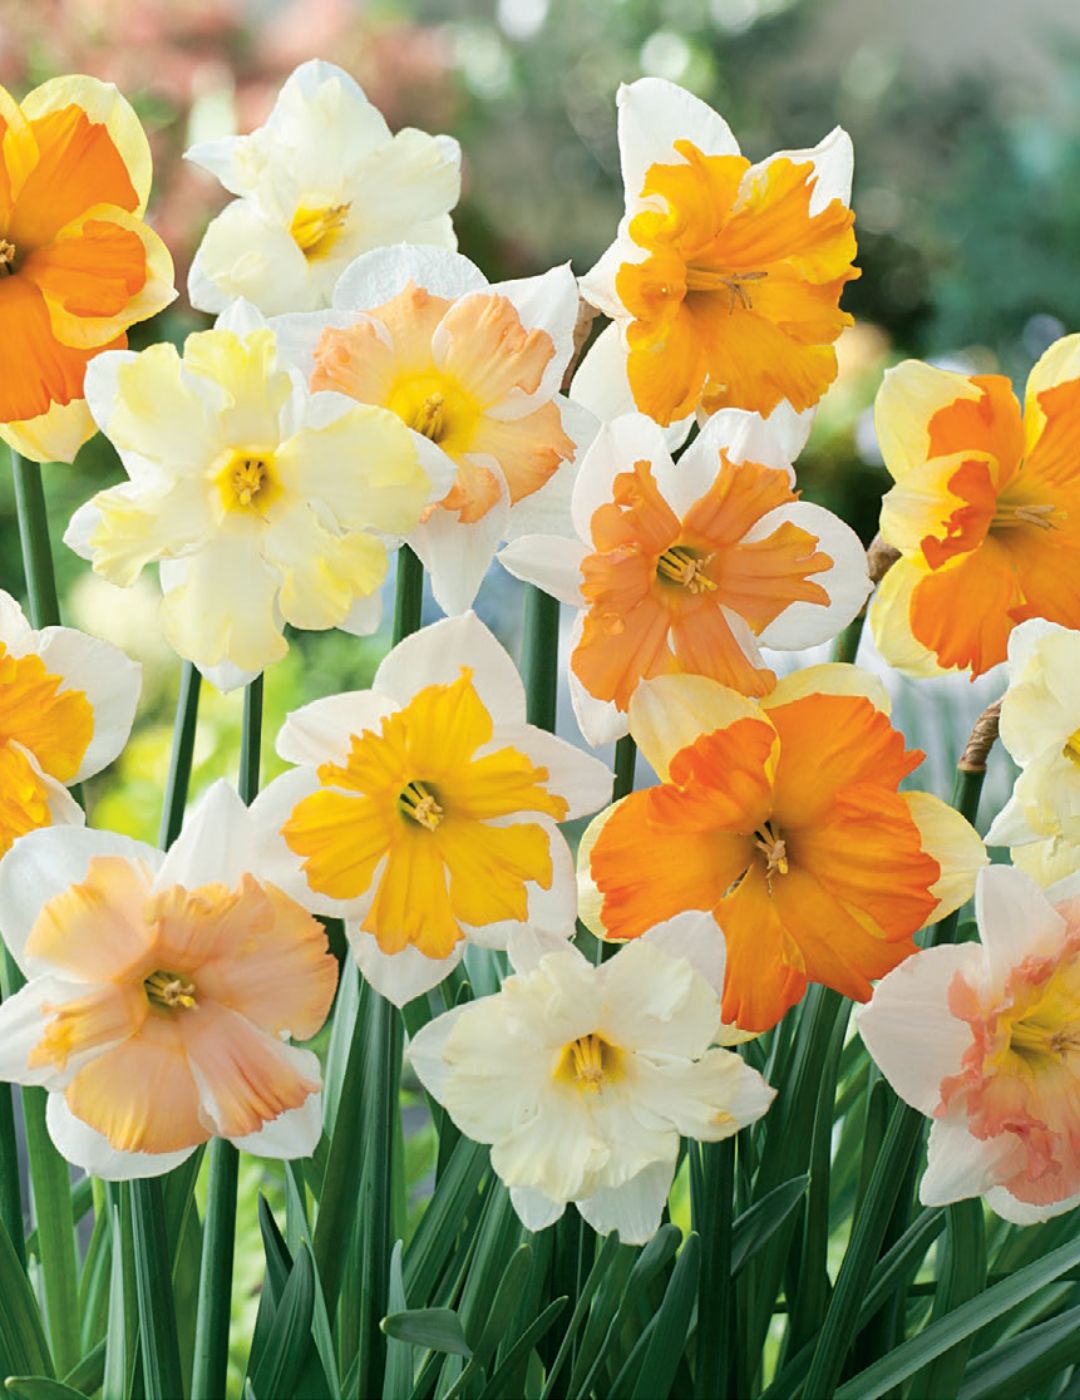
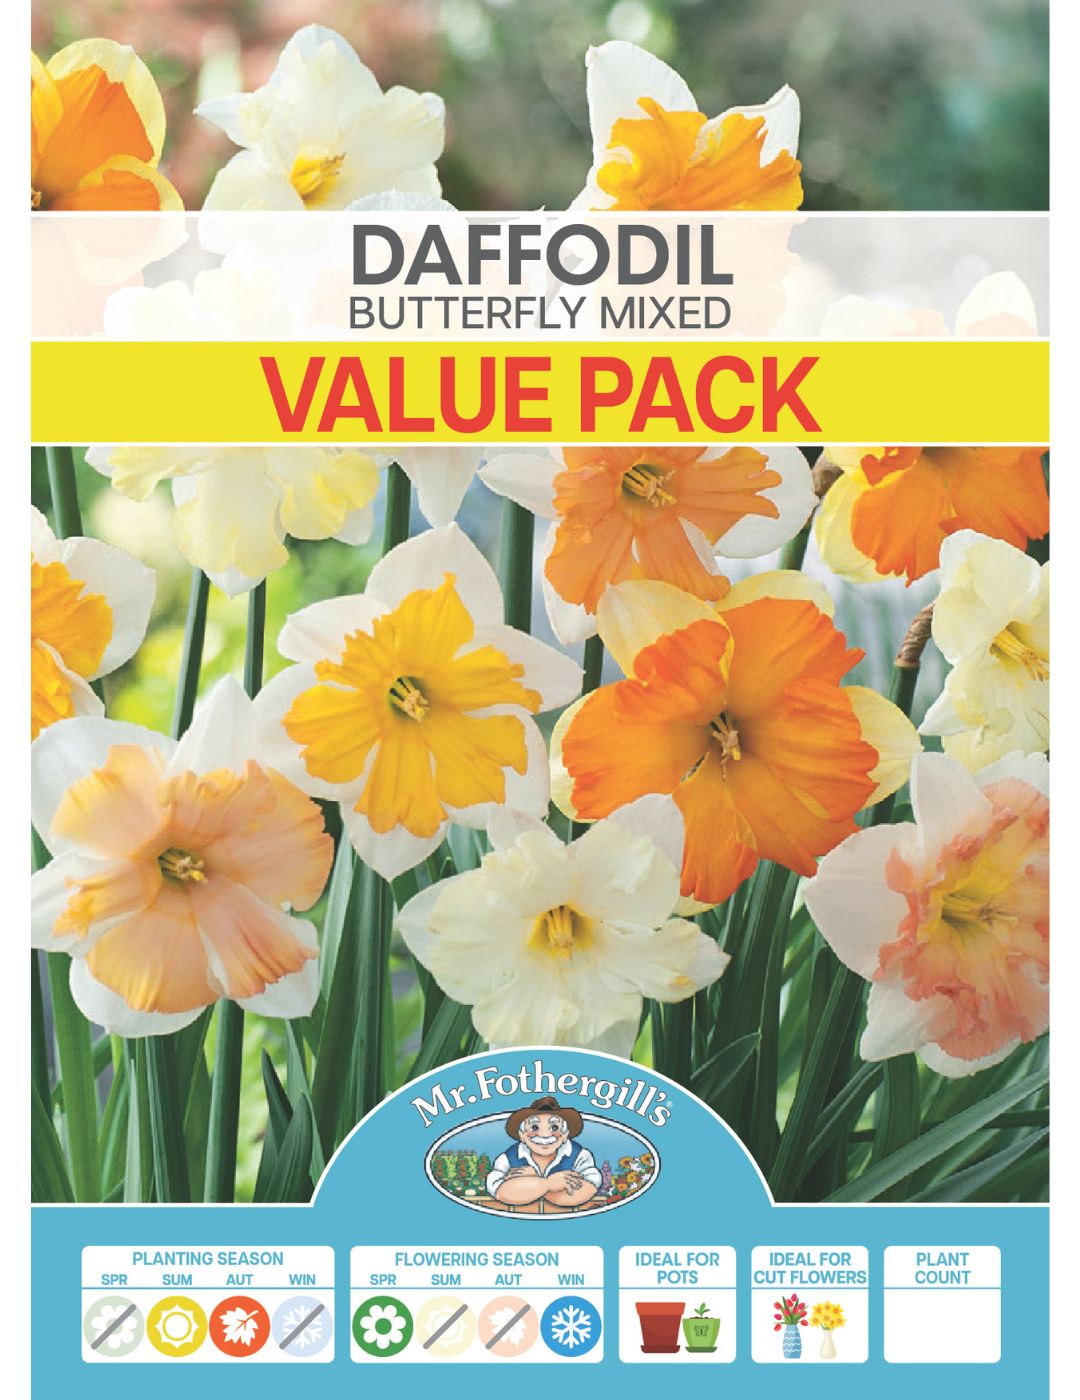
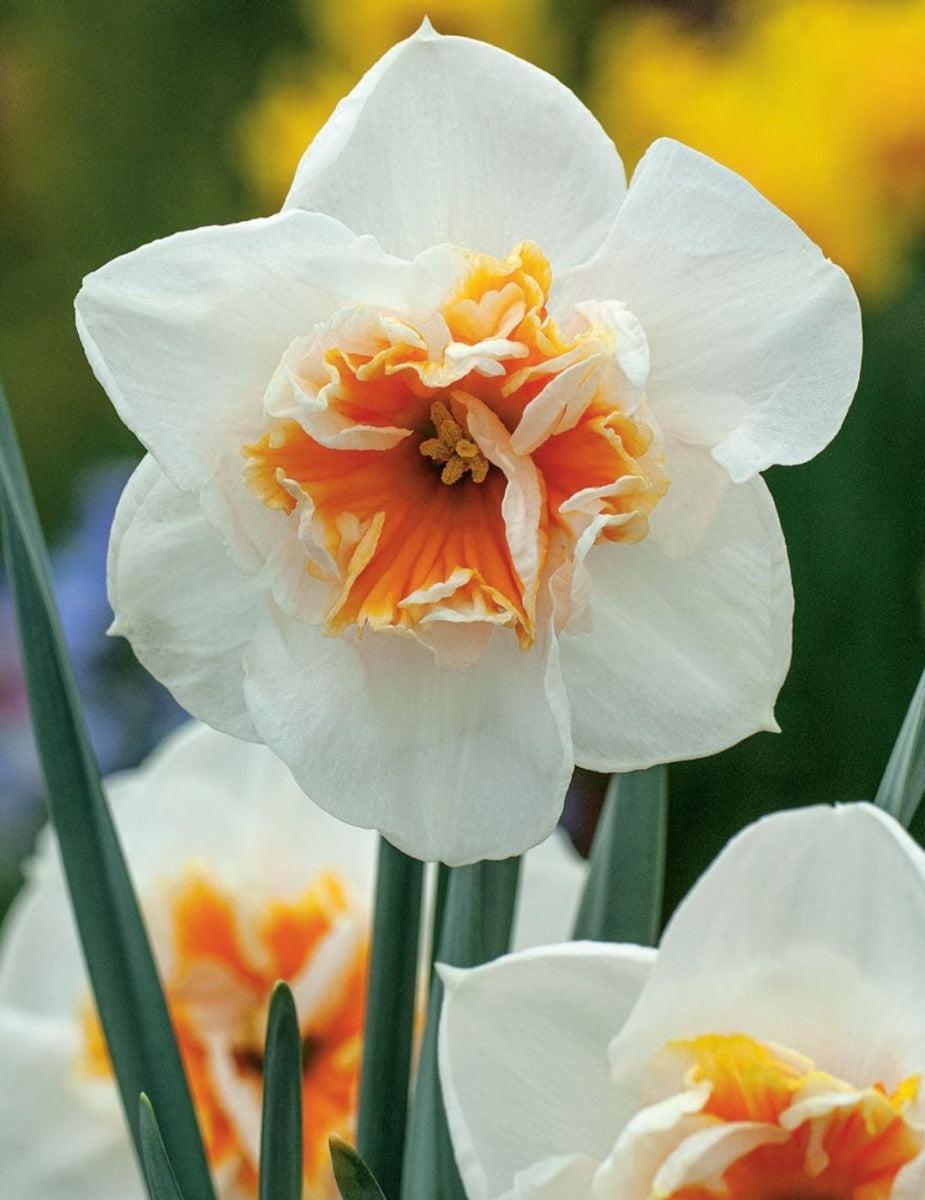
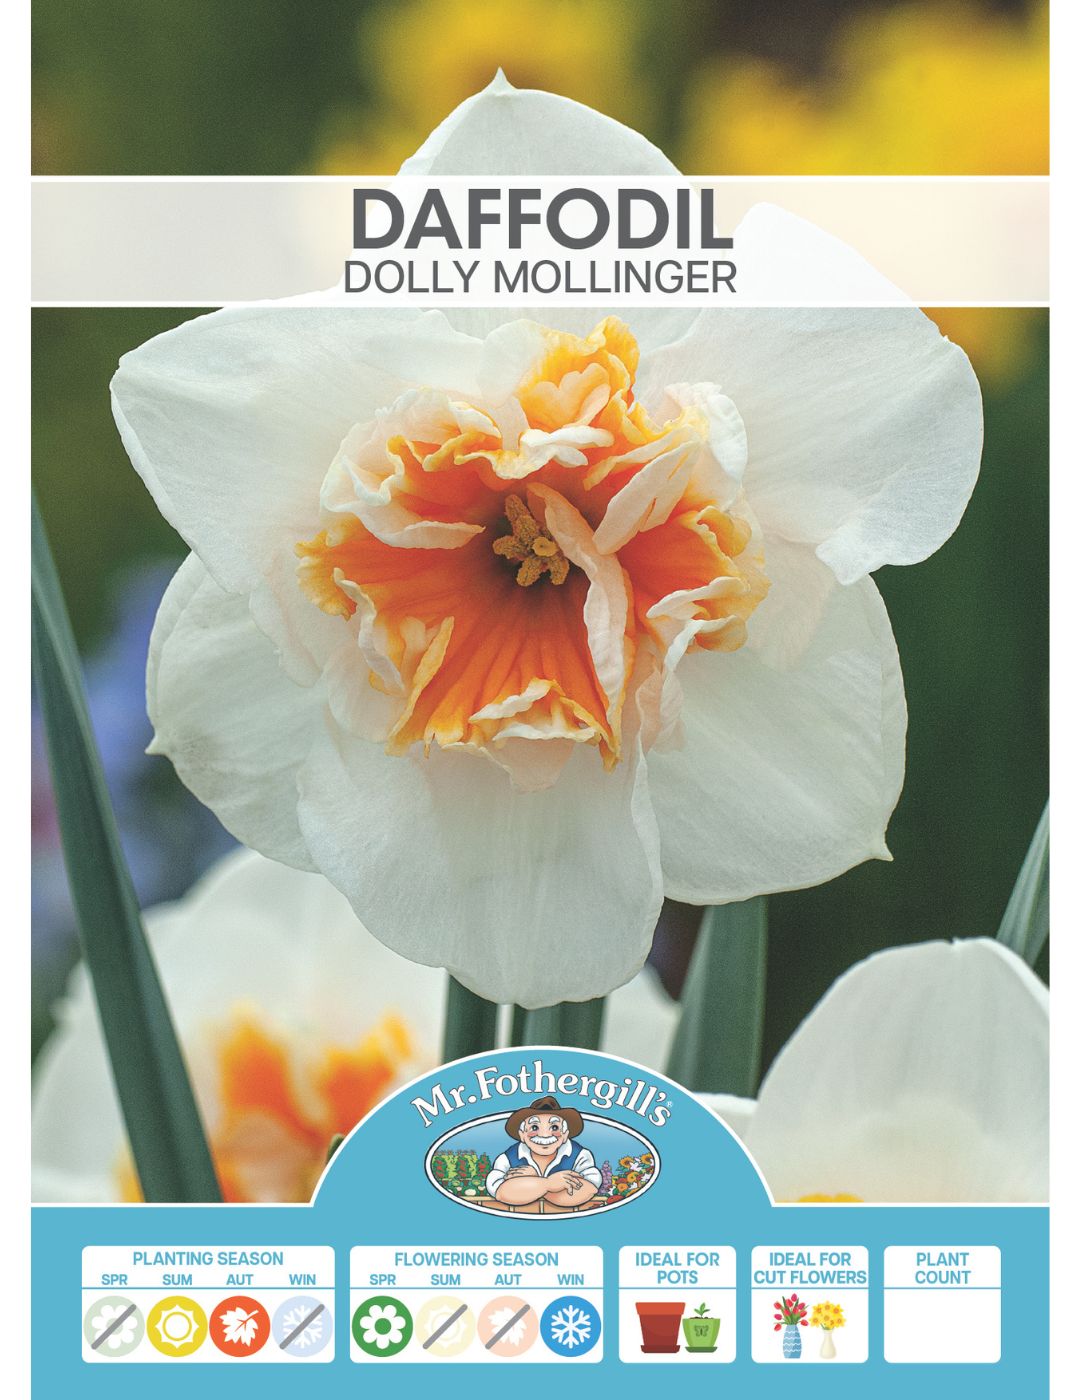
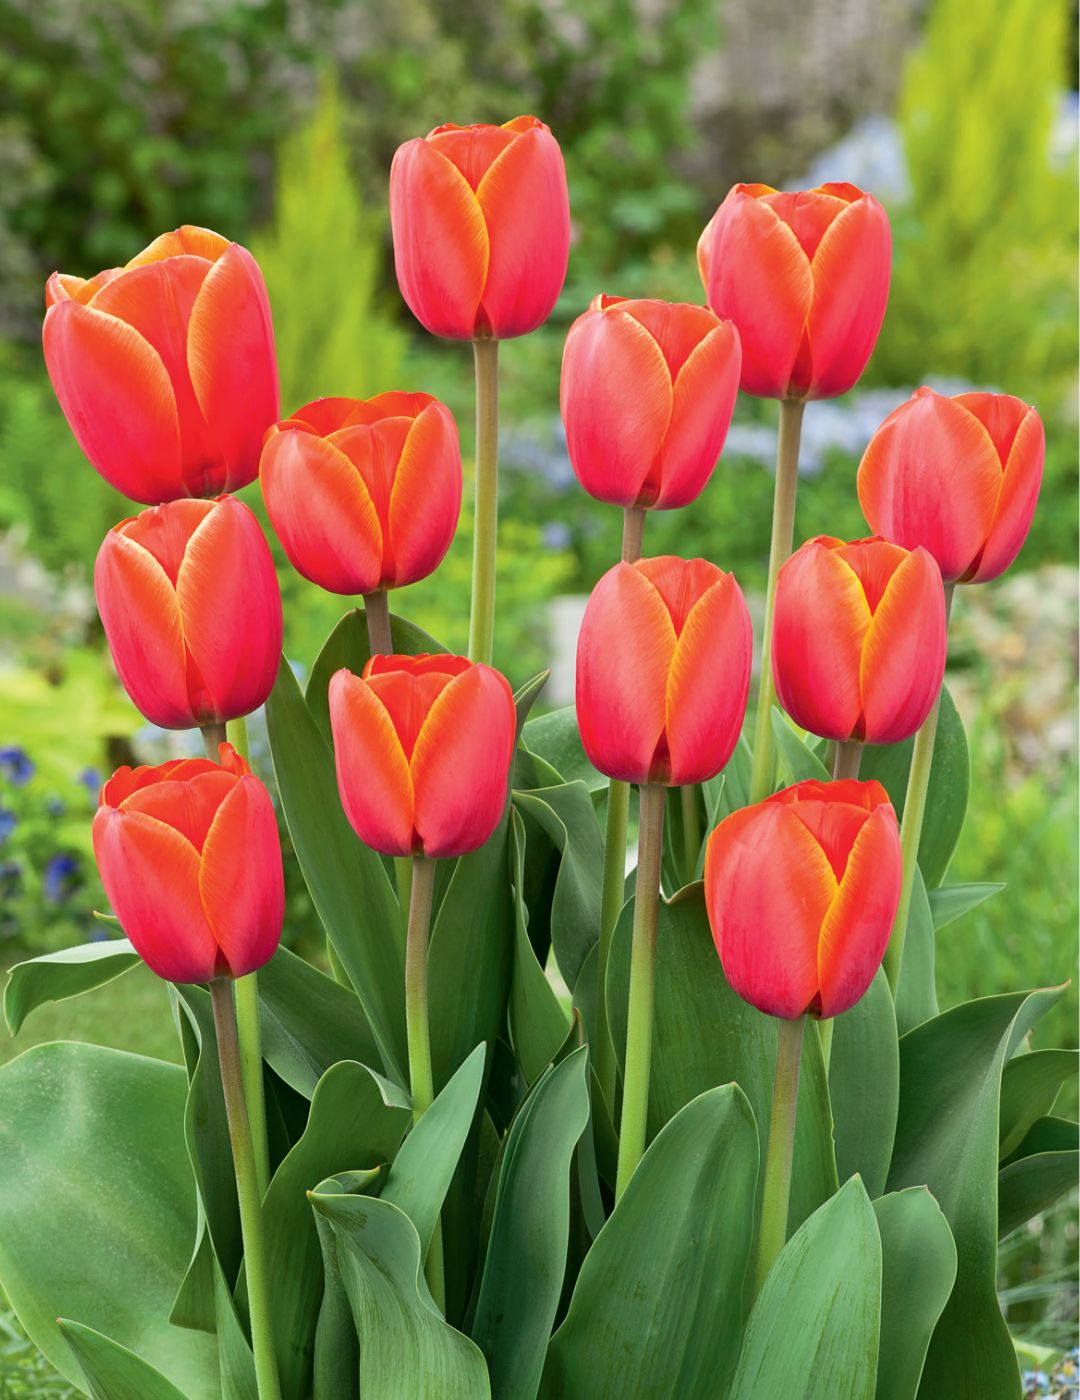
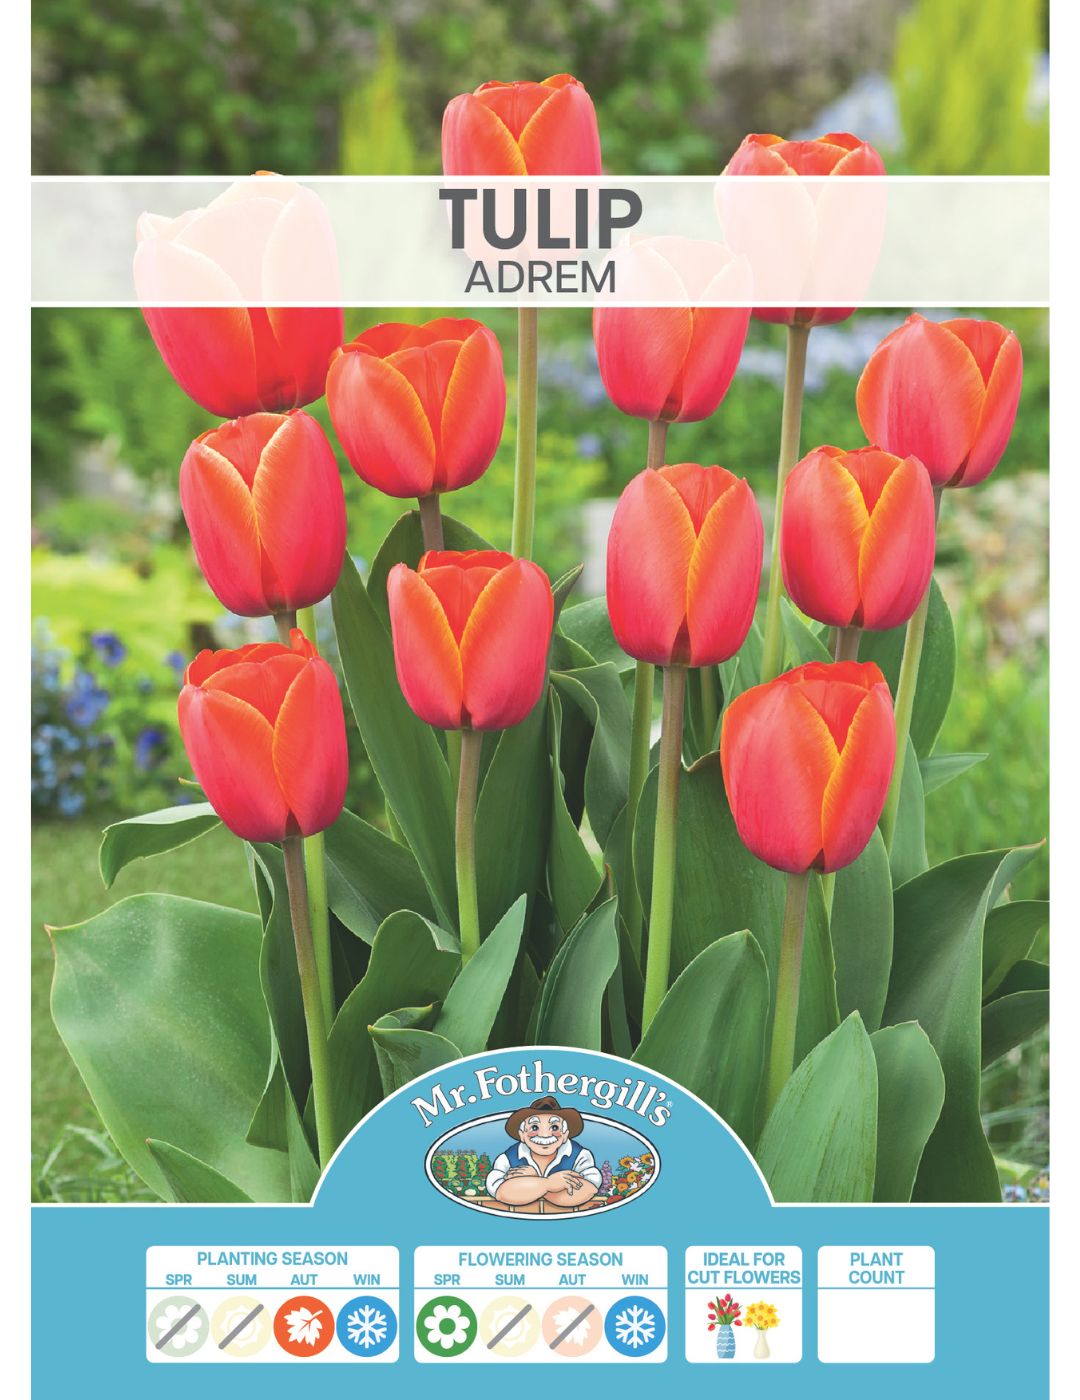
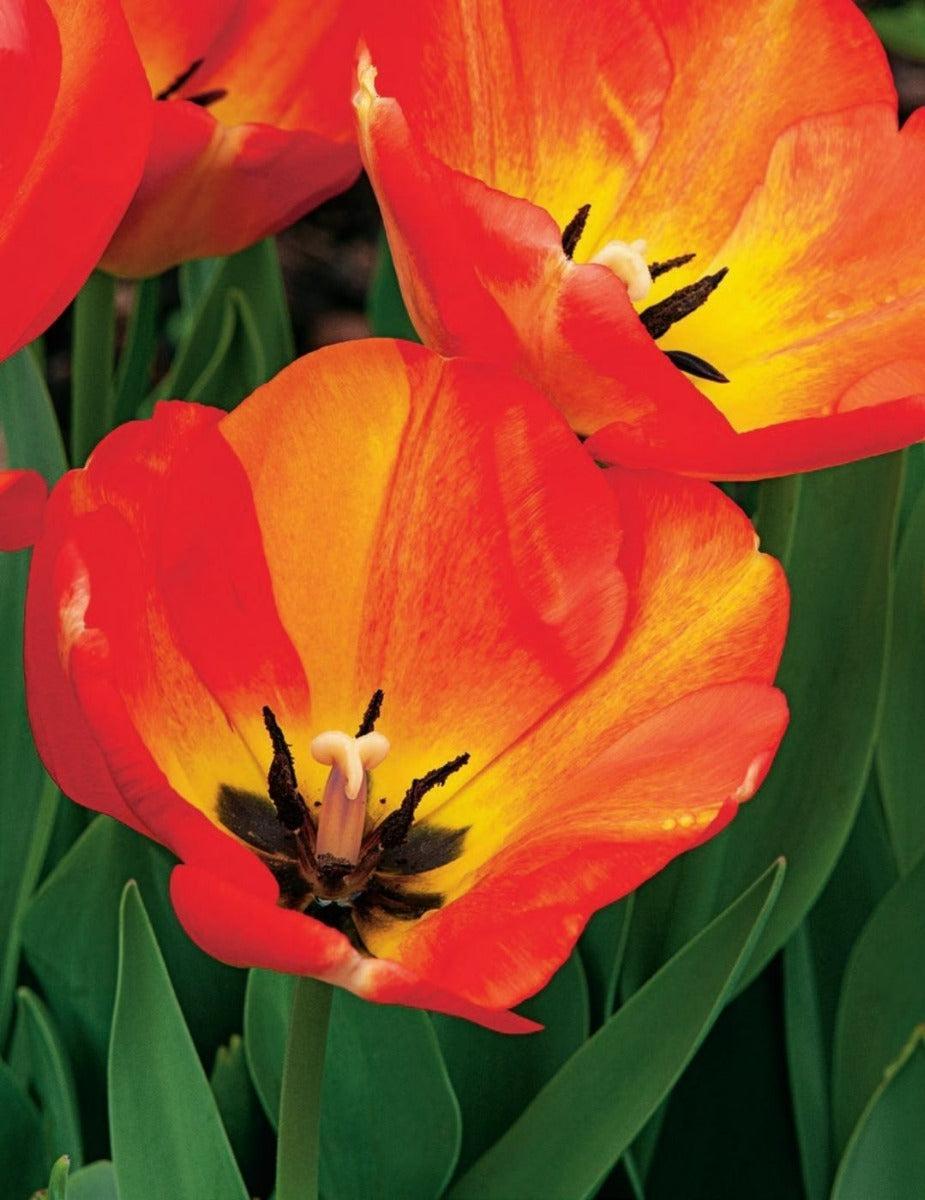
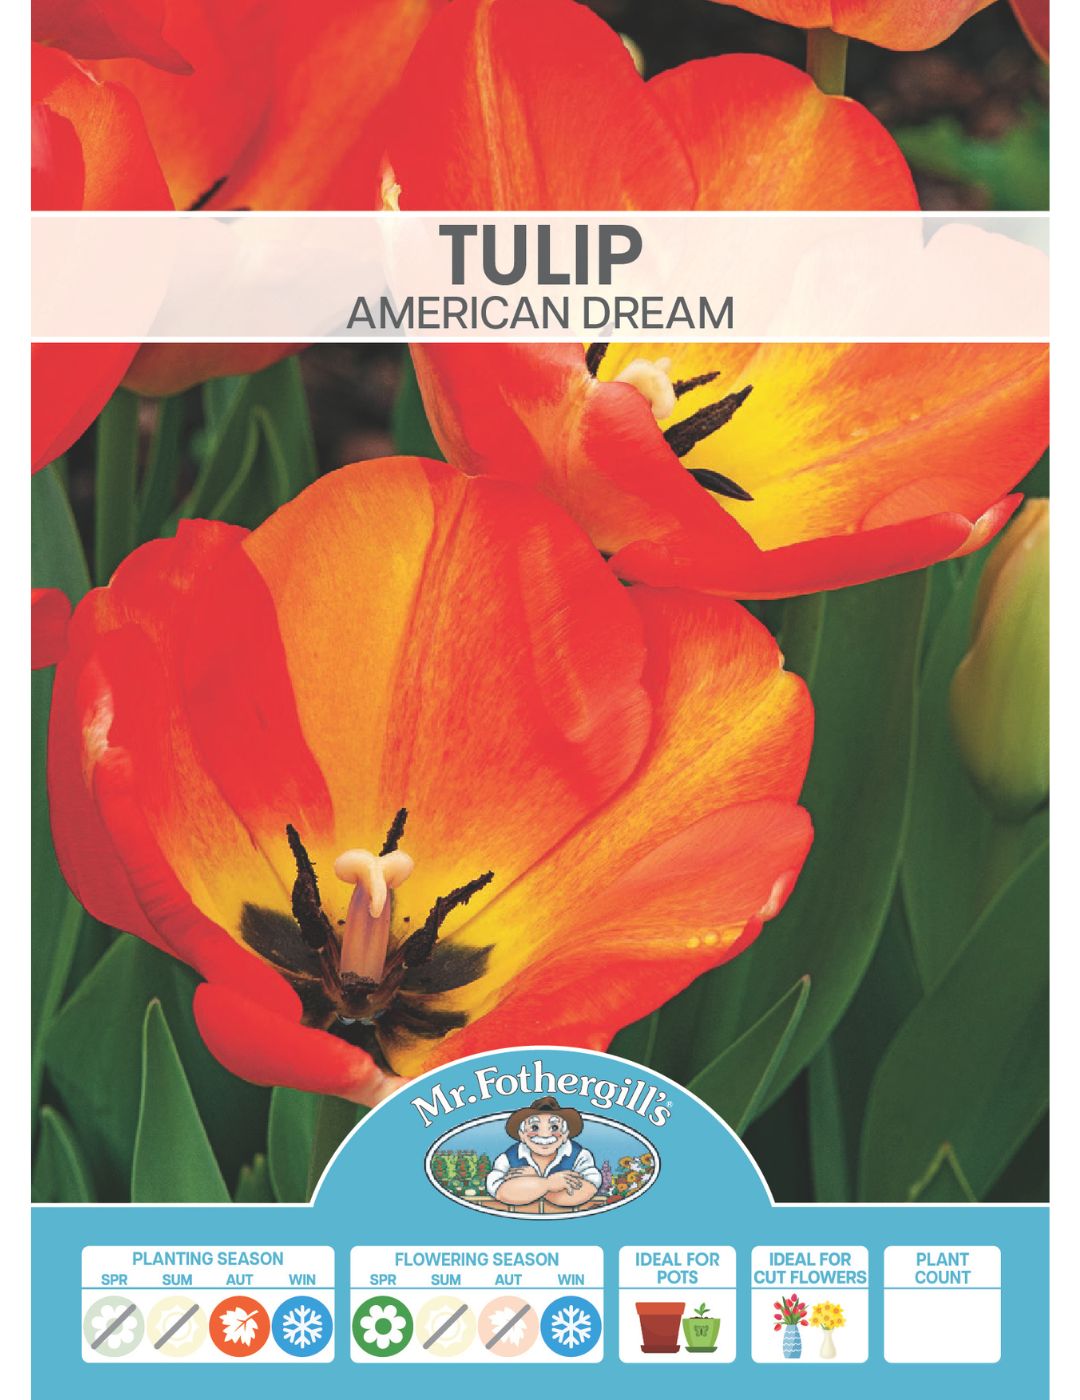
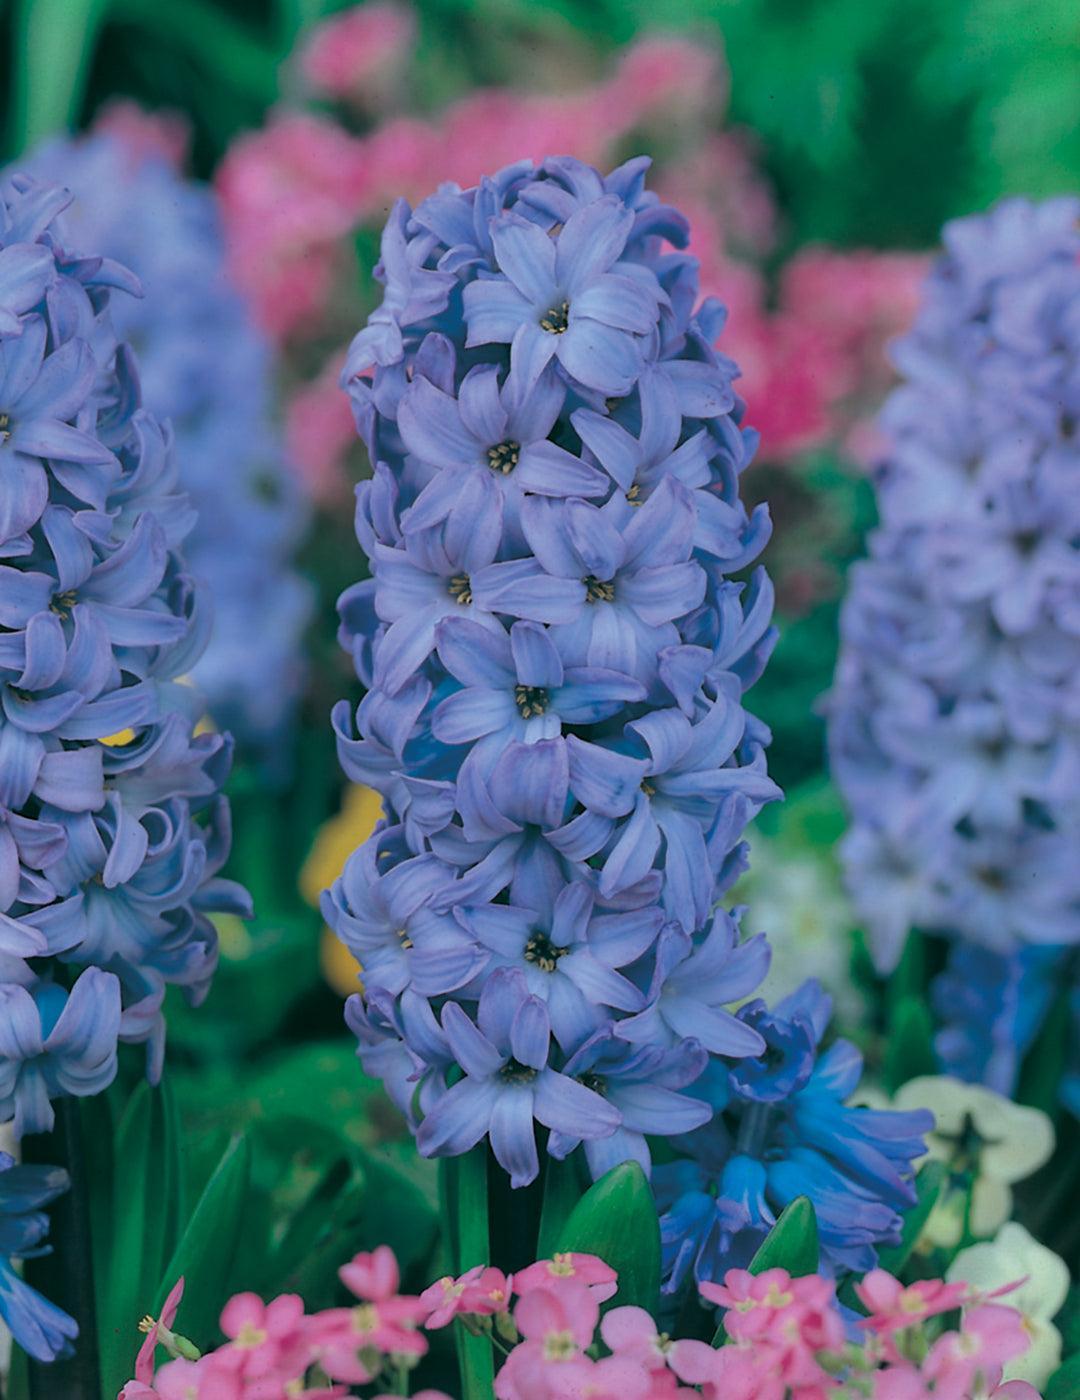
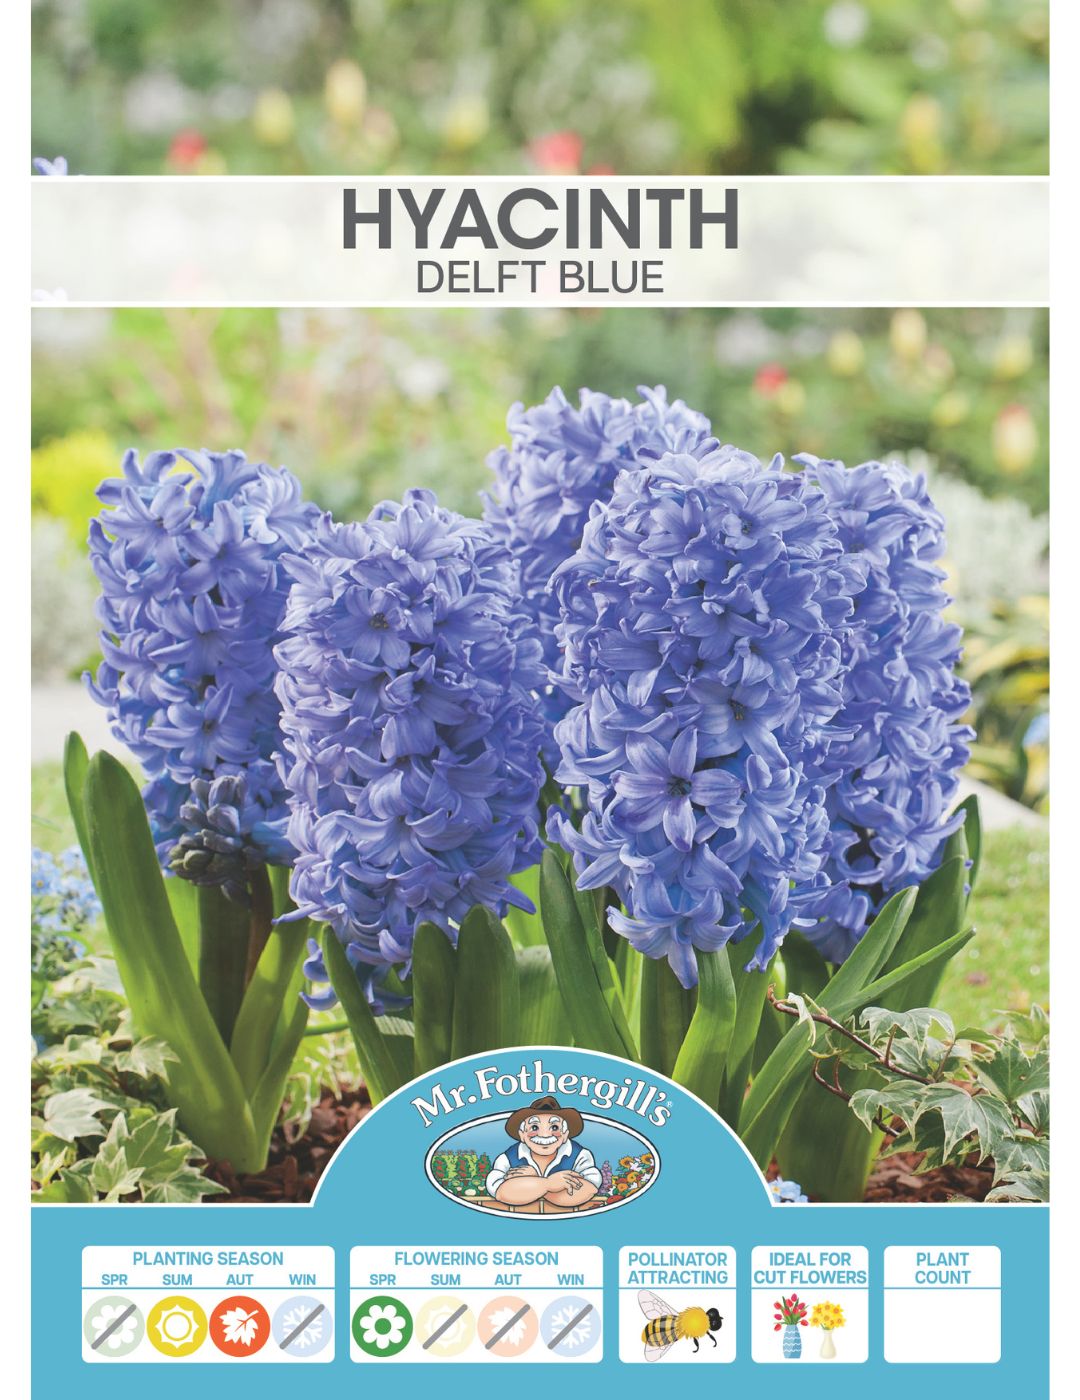
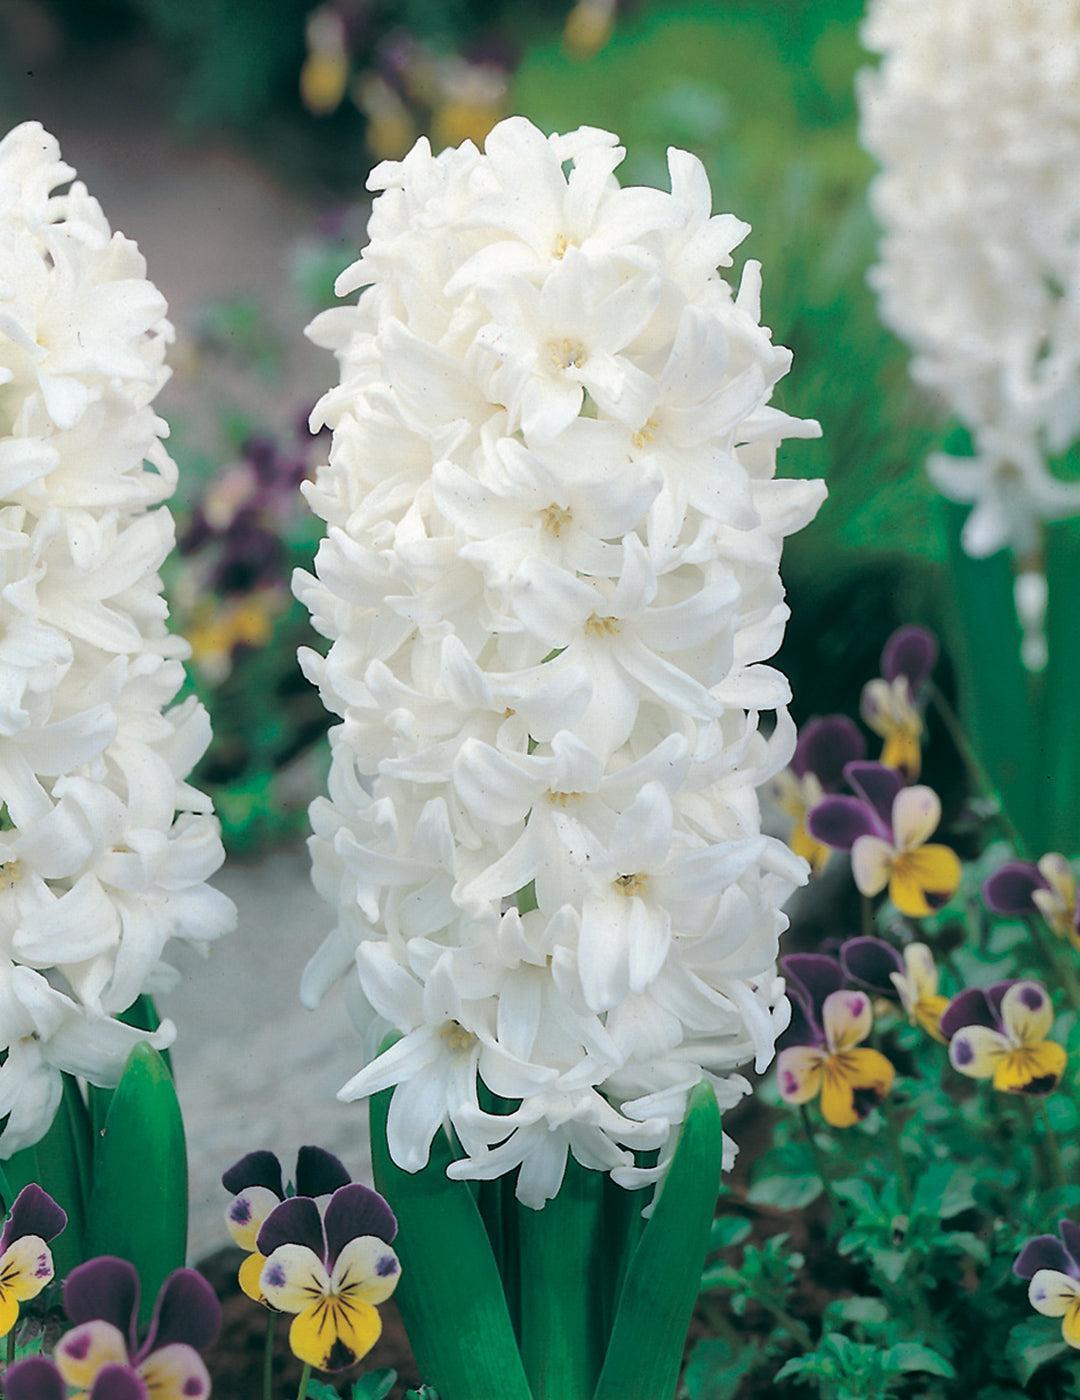
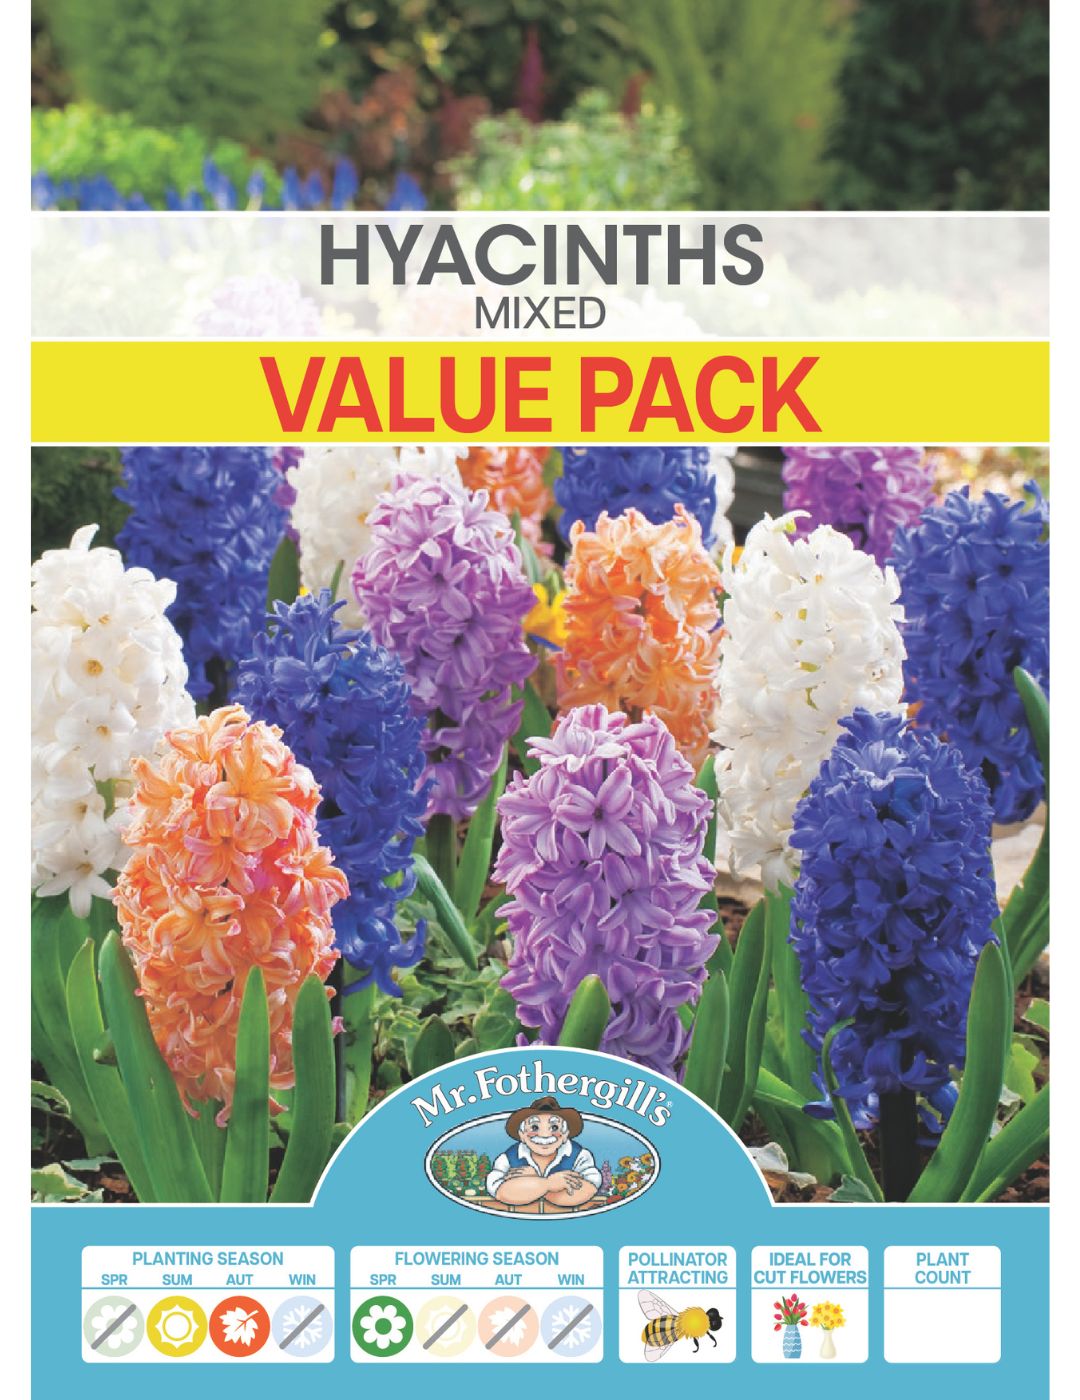
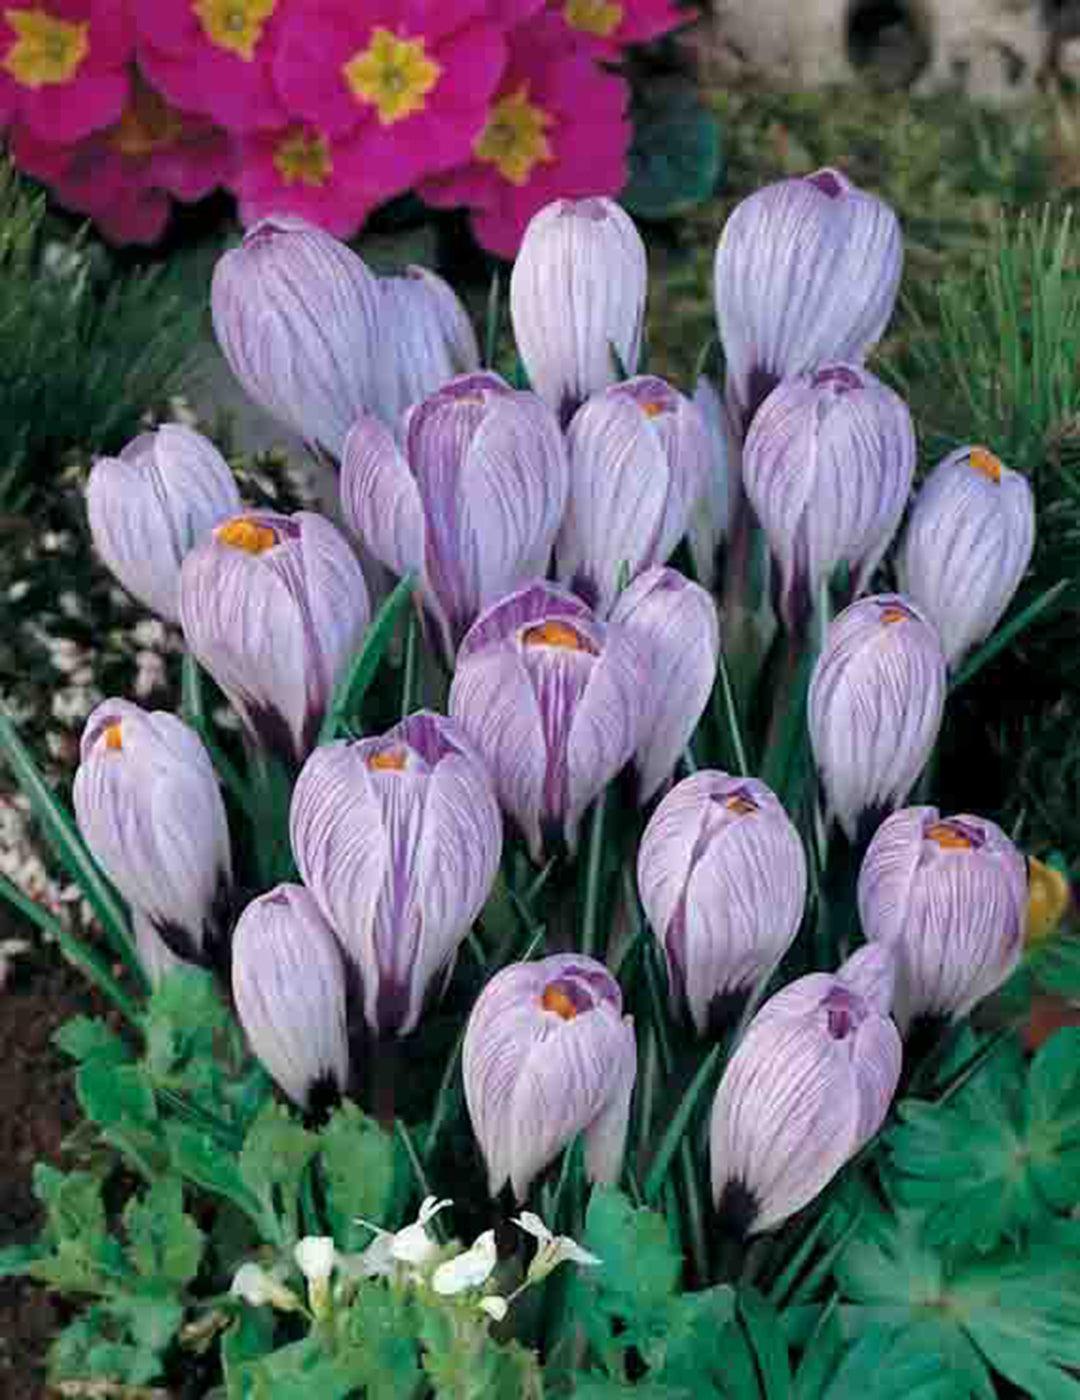
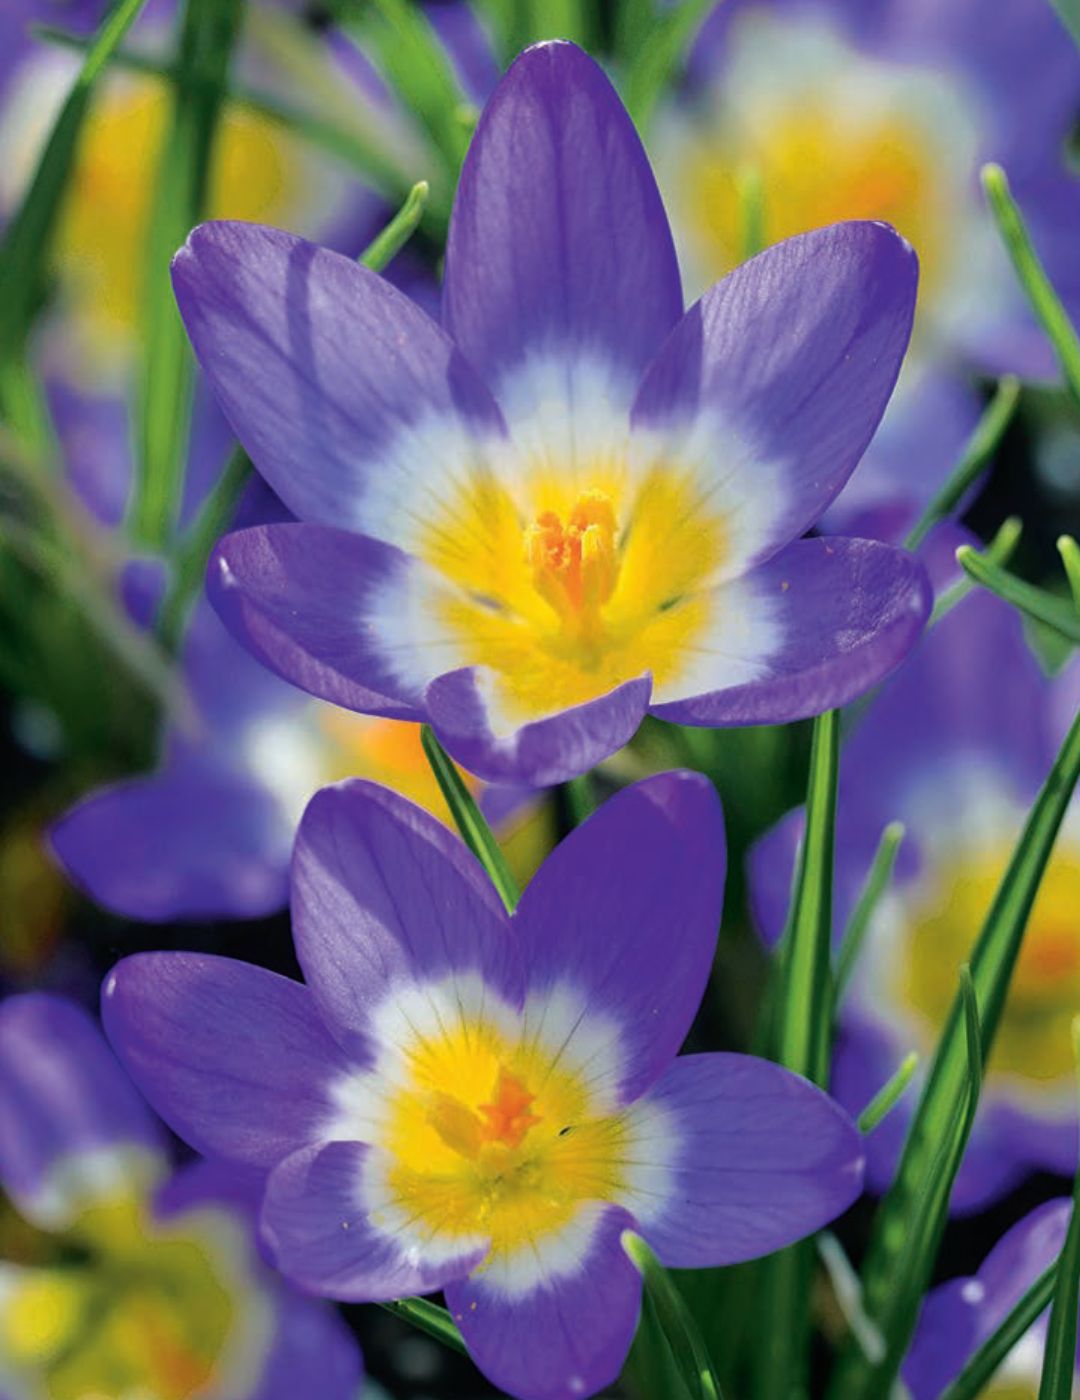
The effectiveness of a spring bulb lasagne depends on the perfect arrangement of bulbs and seeds. Larger bulbs that take longer to rise up through the pot and flower, such as tulips and daffodils, are planted at the bottom of the pot. Smaller, earlier-flowering plants, such as hyacinths and crocus, are planted at the top.
The result of this deliberate planting arrangement is that the top layer will bloom while the lower layers are continuing to grow. Then, once the top bloom has passed, the next layer will be ready, followed by the next layer, and so on. The spring bulb lasagne technique guarantees an effect of continuous bloom, turning any garden into a season-long expression of colour.
Why Would I Plant a Bulb Lasagne?
Planting a spring bulb lasagne brings long-lasting colour and life to your garden within a short planting period. One session of layering with the lasagne method results in a prolonged flowering period, with each bulb maturing and flowering sequentially to produce a new generation of flowers without having to plant a new set of fast-growing plants.
In addition to this effect of continuous bloom, the bulb lasagne method is also an effective method for maximising space. Layering several types of flowers within a single pot means packing many colours and flower types into a single spot in the garden, providing variety in an efficient pocket of space.
How to Plant a Spring Bulb Lasagne
Selecting Your Bulbs
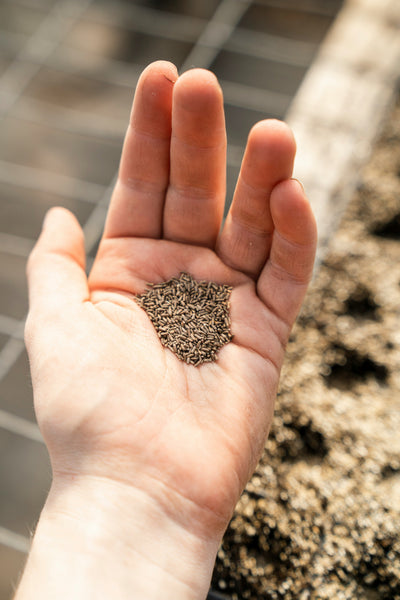
The first step of planting a successful spring bulb lasagne is selecting the right bulbs. The trick to doing this effectively is choosing bulbs of varying sizes that will bloom at different speeds, resulting in the desired effect of a continuous bloom.
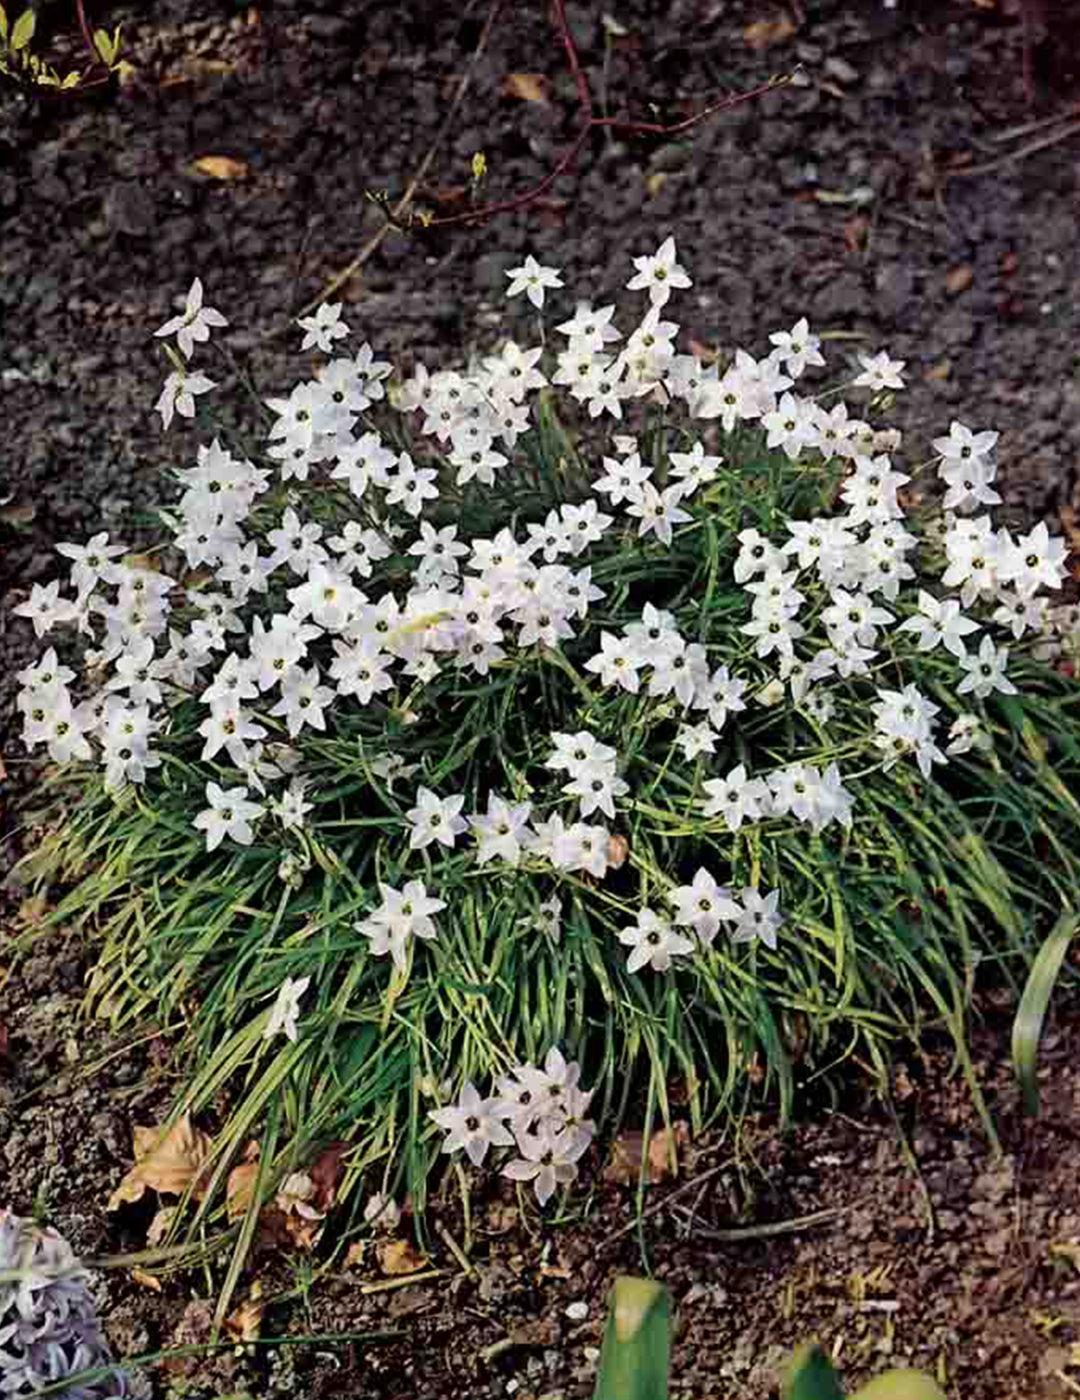
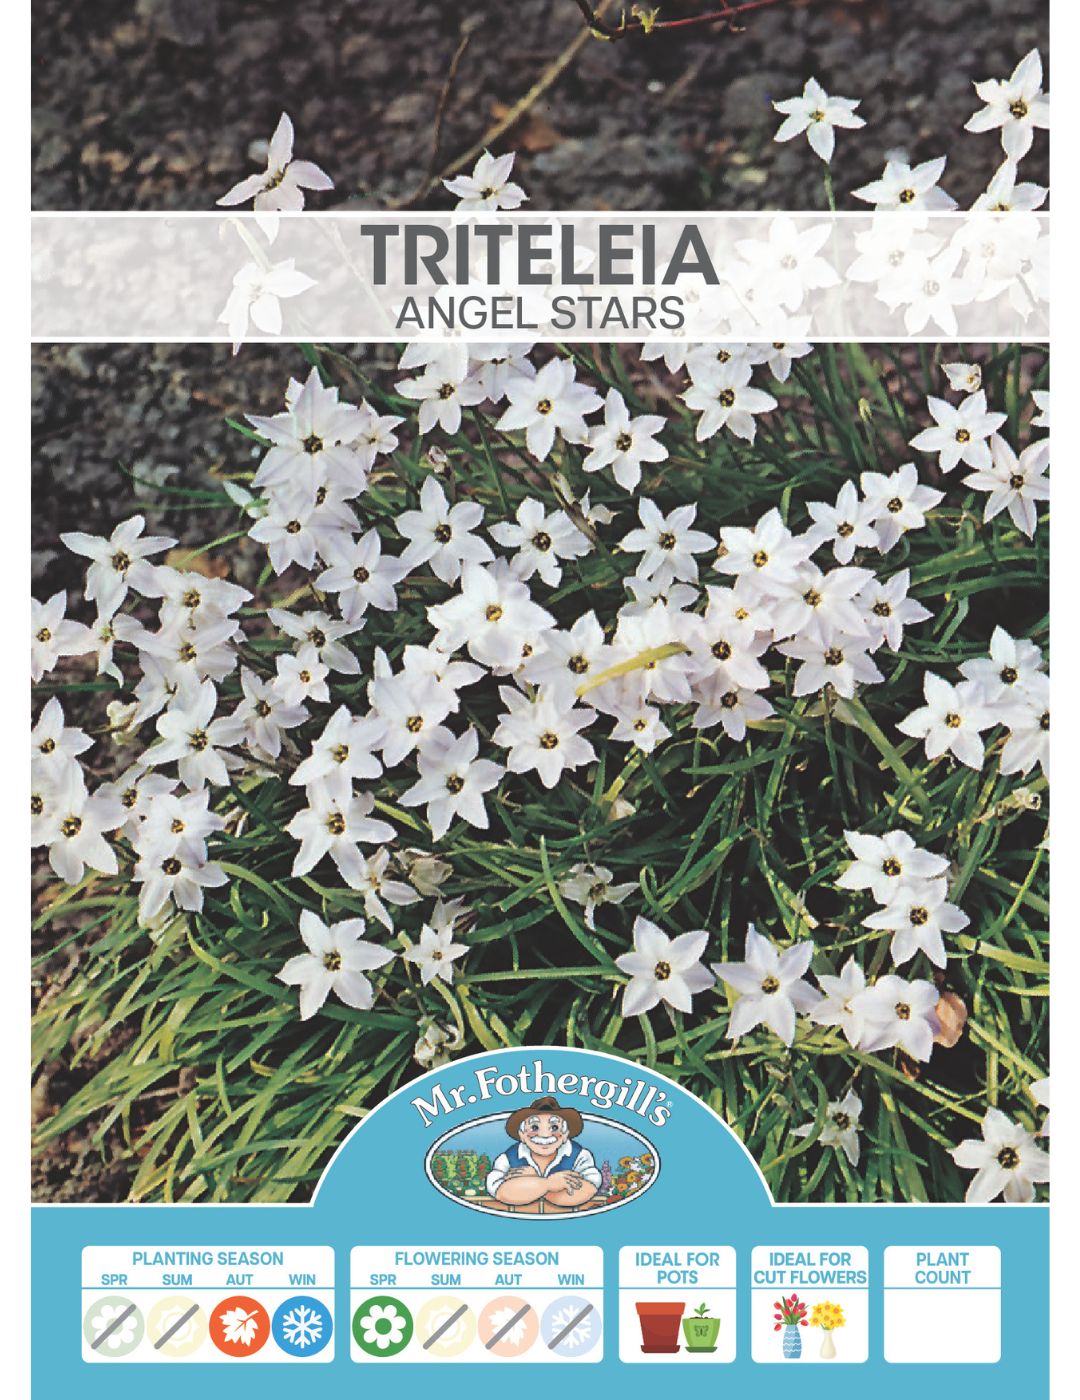
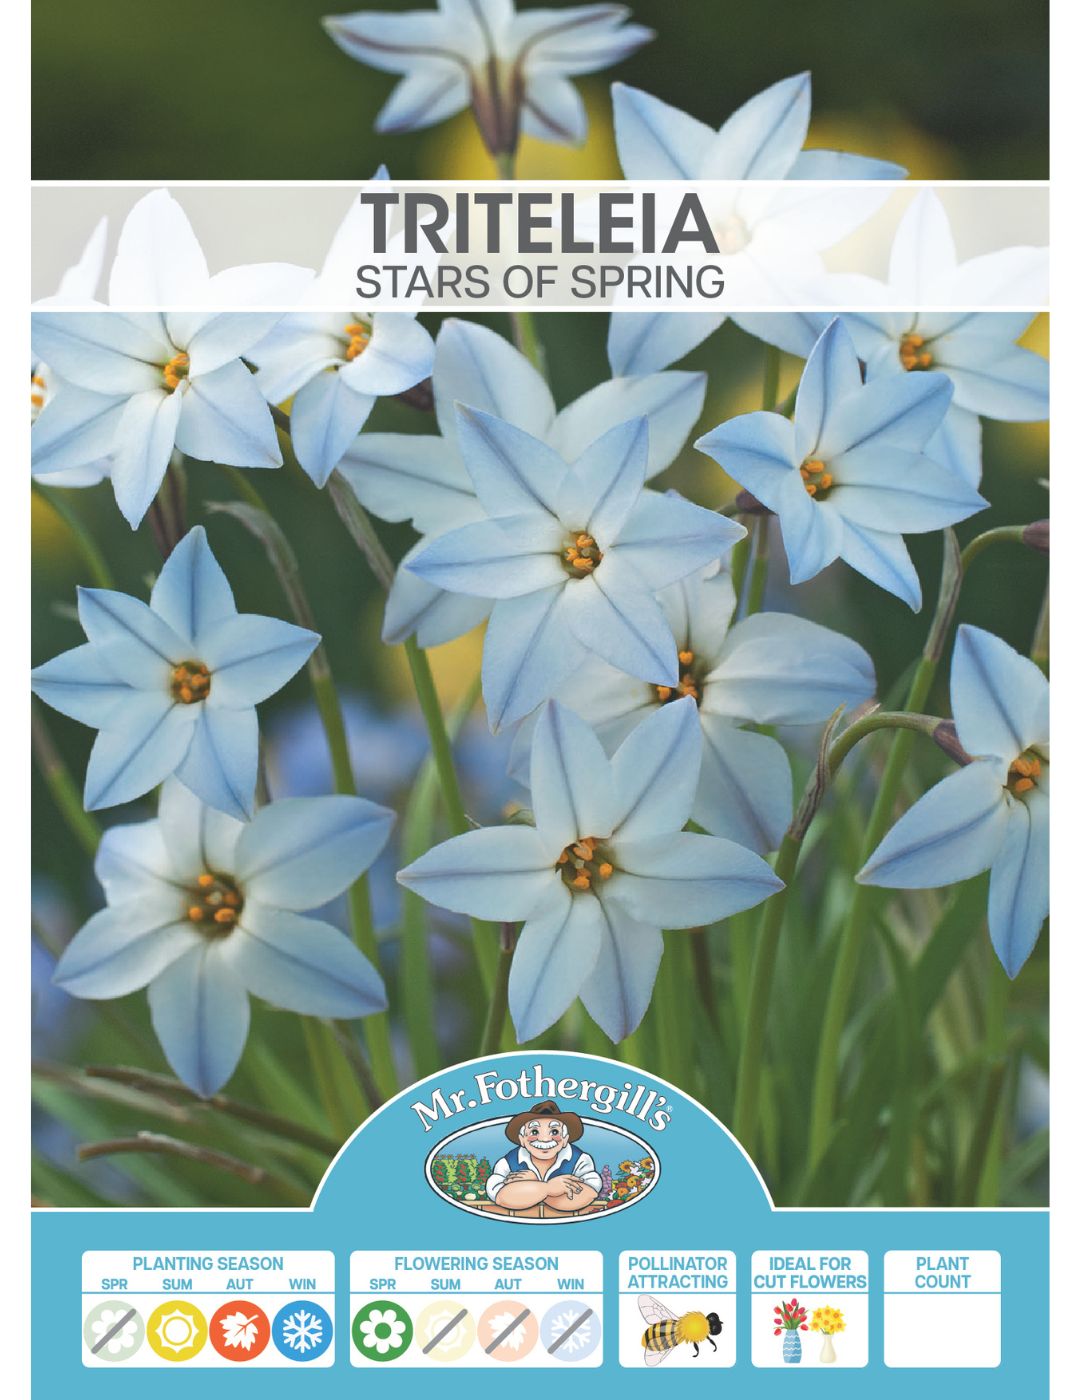
On the lower layers, consider some of the most popular bulbs, like tulips and daffodils. For the middle layer, hyacinth bulbs, Dutch crocus, and triteleia are very popular options. For the top layers, flower seeds provide quick colour and cover the bare soil. Top choices here include Alyssum seeds and gypsophila, both of which can be sown during the cooler months.
Planting Your Bulbs
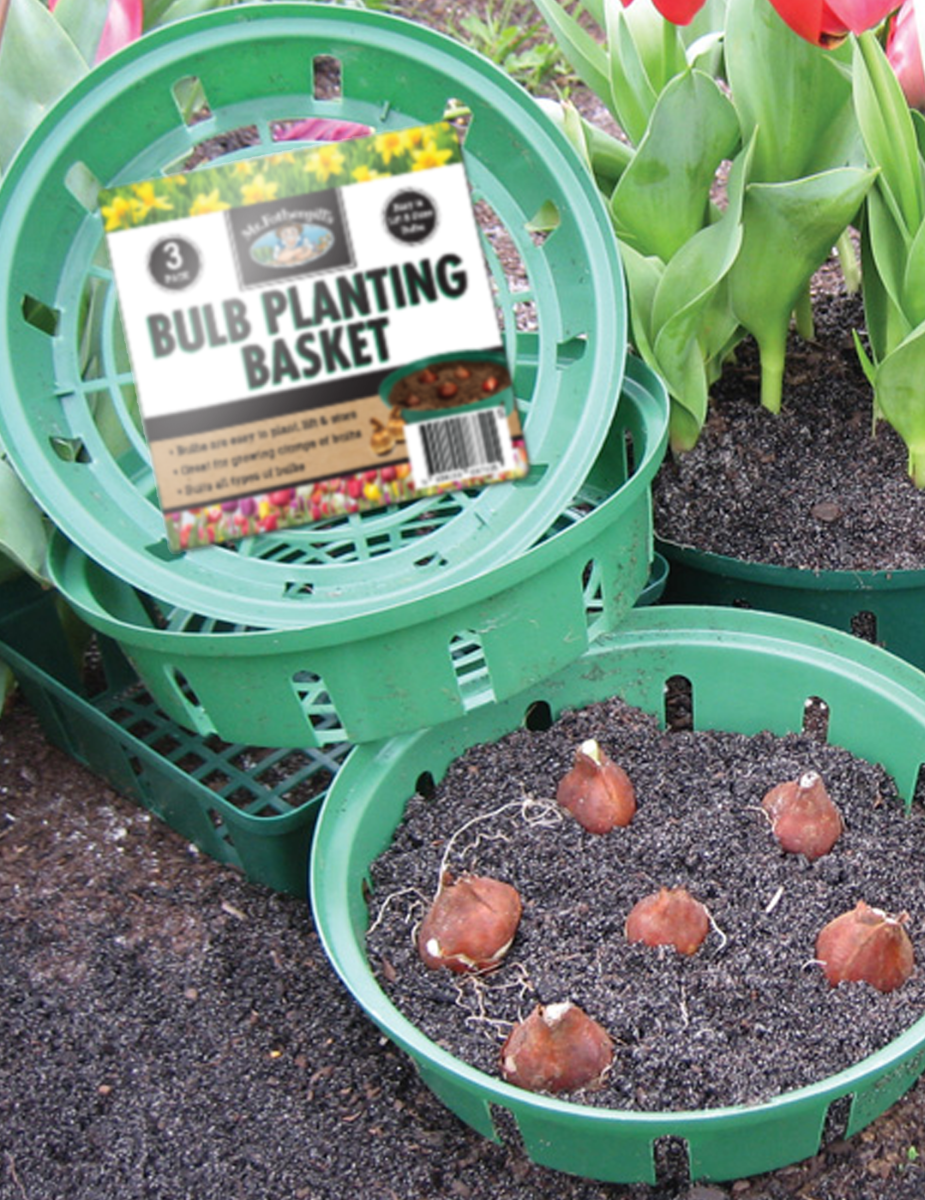
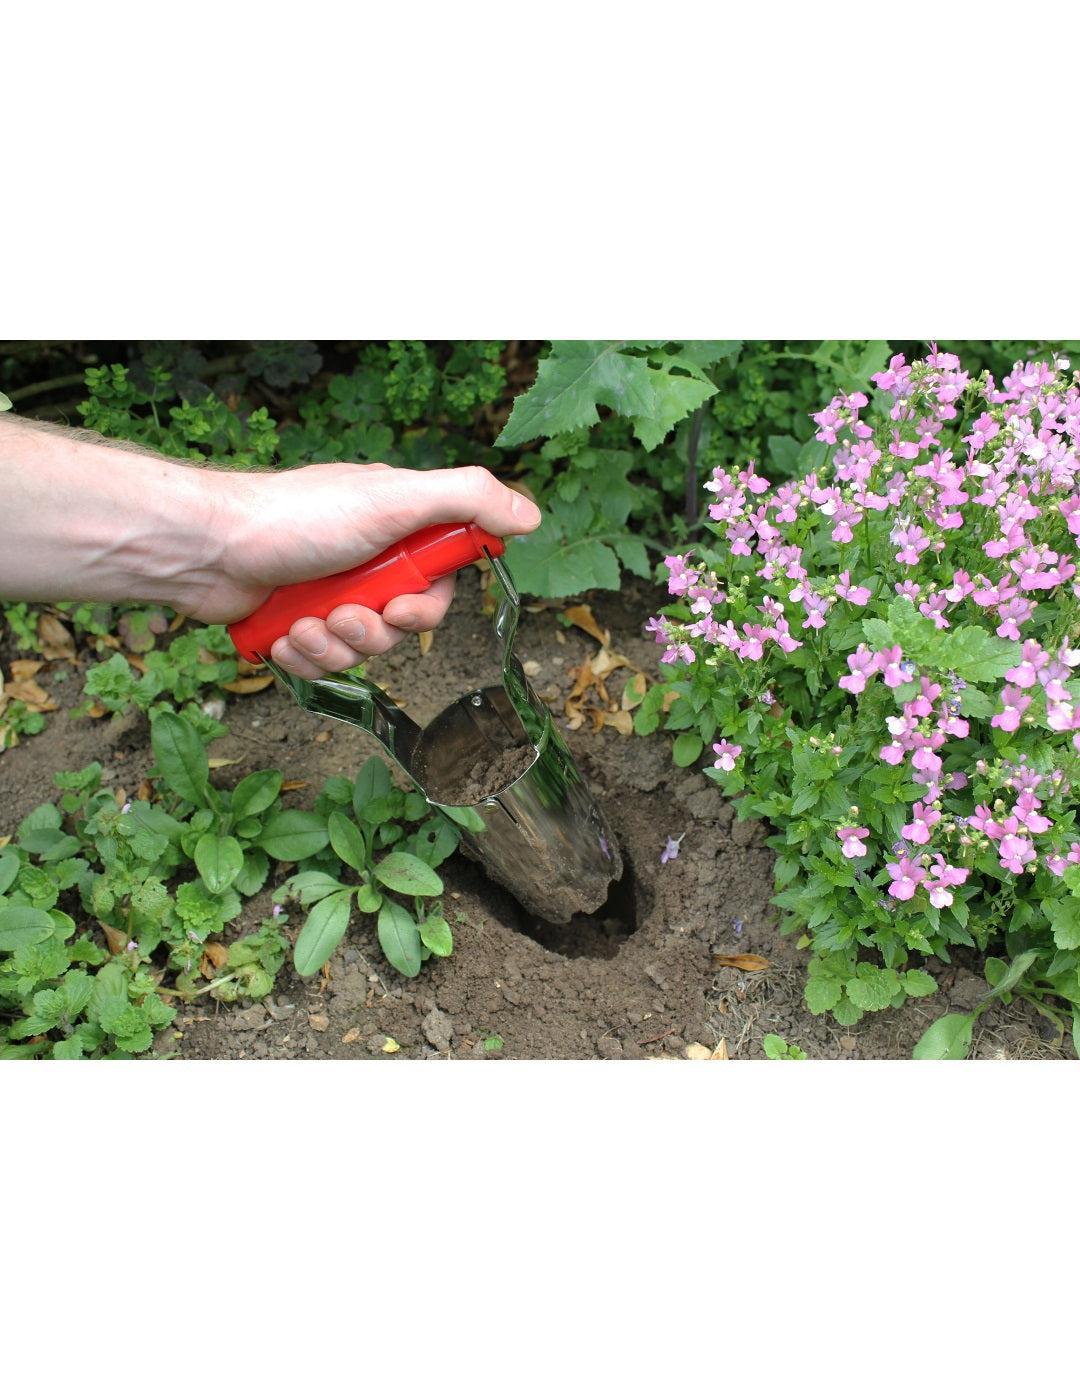
With your bulb selection finalised, locate a position in your garden that gets a lot of sun. Prepare a bed or large planter with drainage holes, then plant your bulb lasagne layer by layer. Begin with the largest bulbs, placing them with their pointed end towards the sky, and cover them with 5-10 cm of compost. Then plant your next layer, including the mid-spring bloomers. Finally, plant the layer of smaller, early-blooming bulbs.
With all the bulbs planted, scatter your top layer with quick-growing flowers and cover with a fine layer of compost so that they don’t dry out. Take care not to put too thick a layer of soil, as the flower seeds will struggle to grow. Lightly water the lasagne to set the layers and kickstart the germination process, and be sure to water regularly throughout the following months.

Selecting the Perfect Bulb Lasagne Combinations
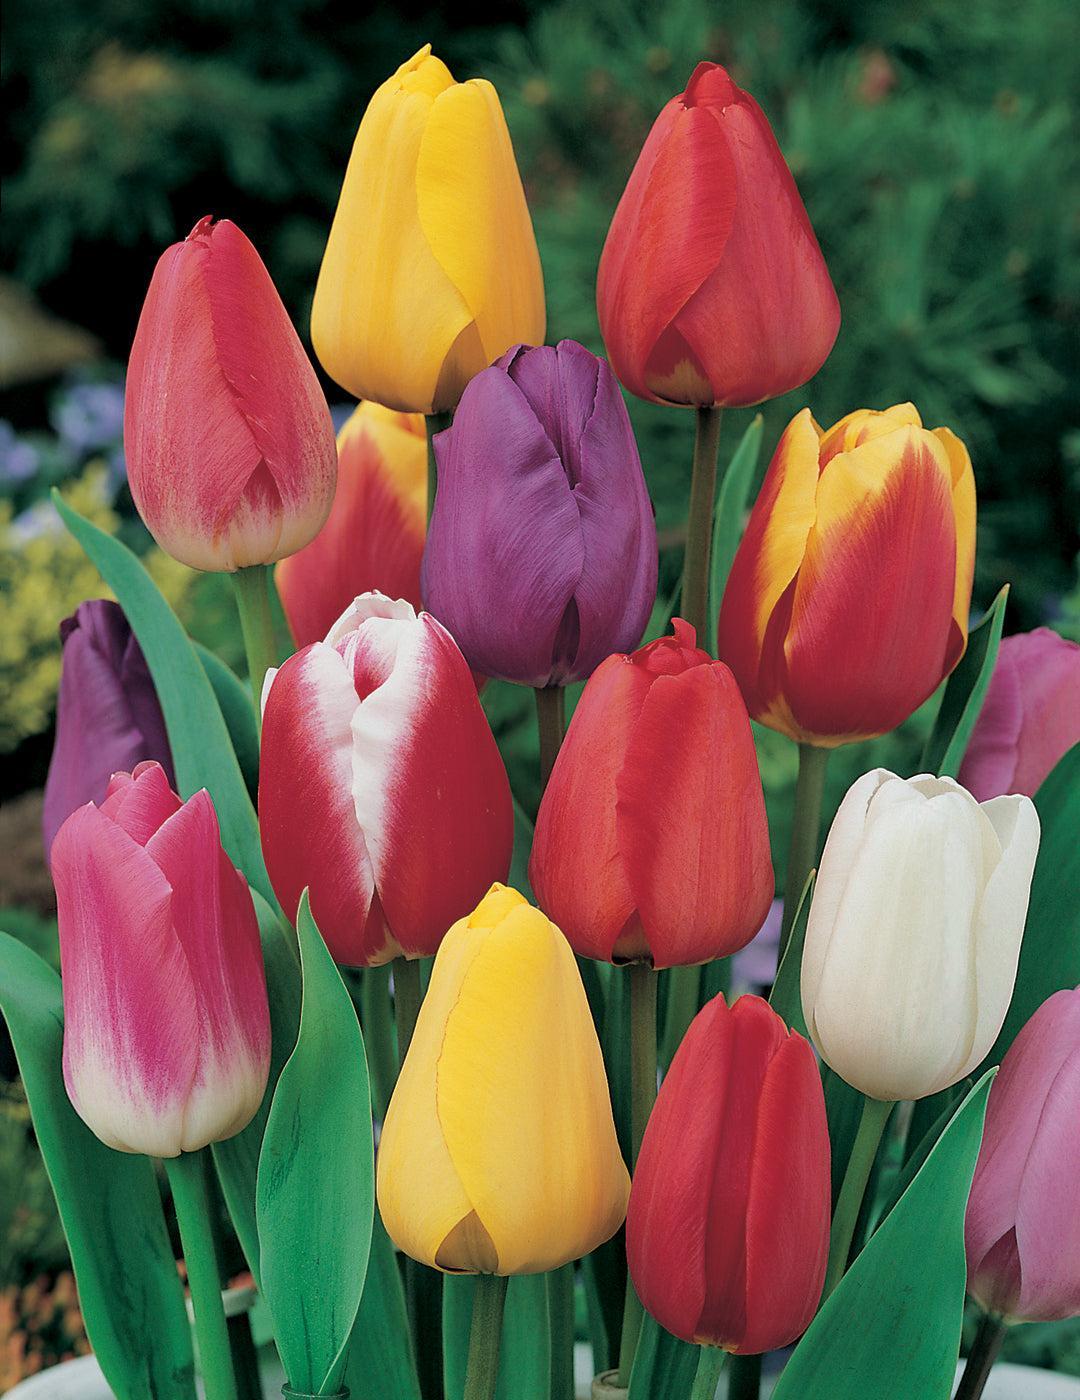
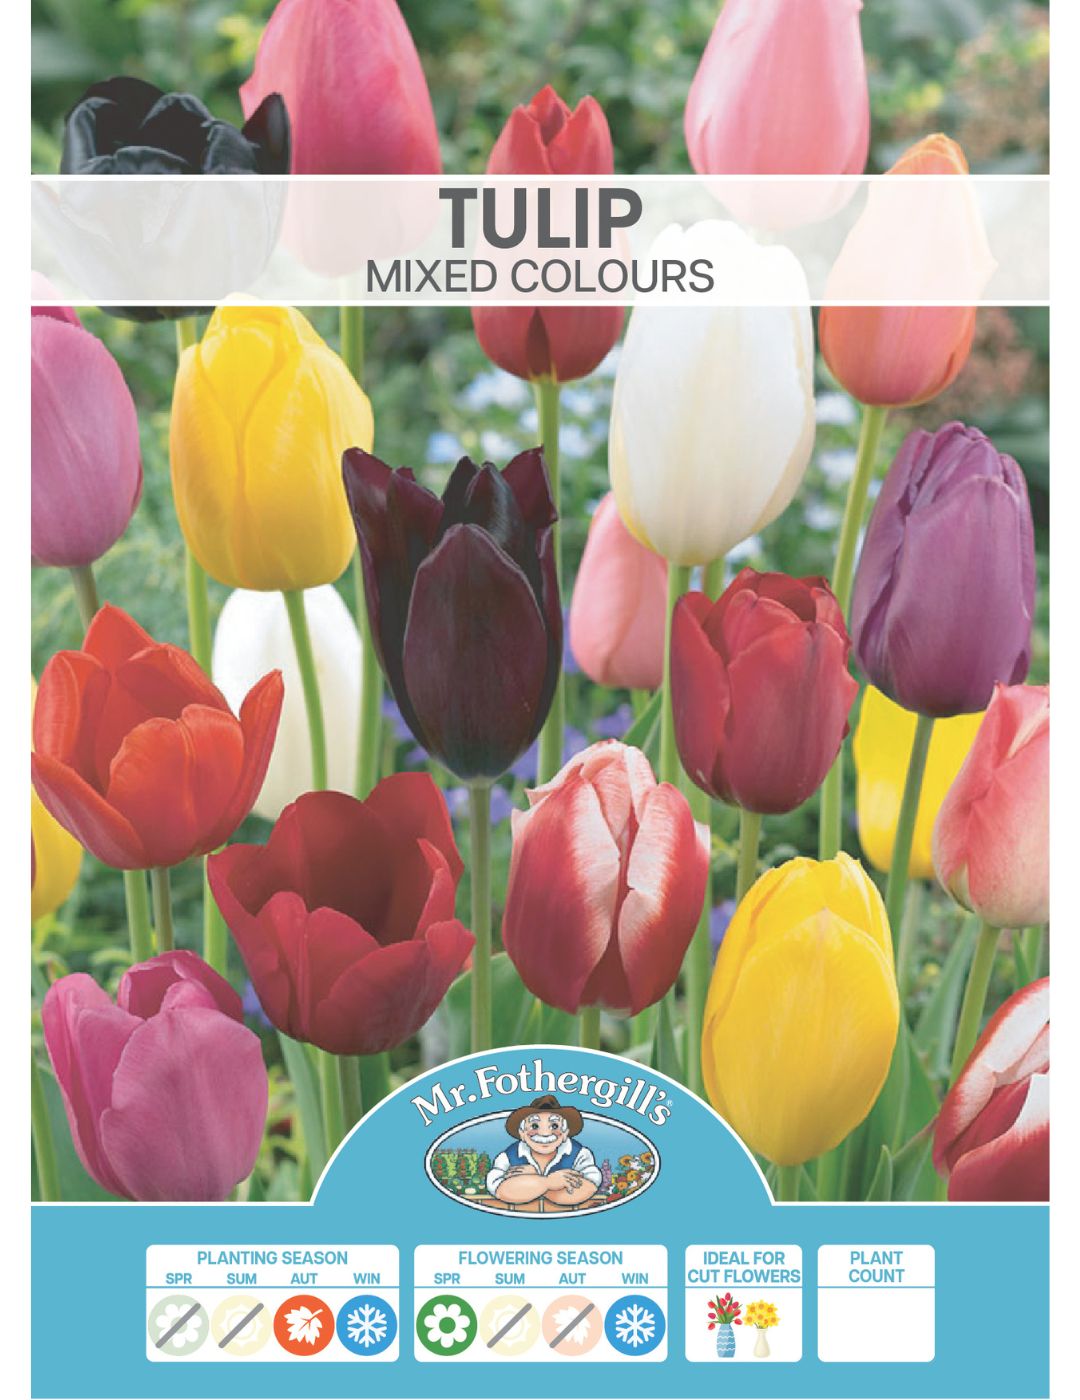
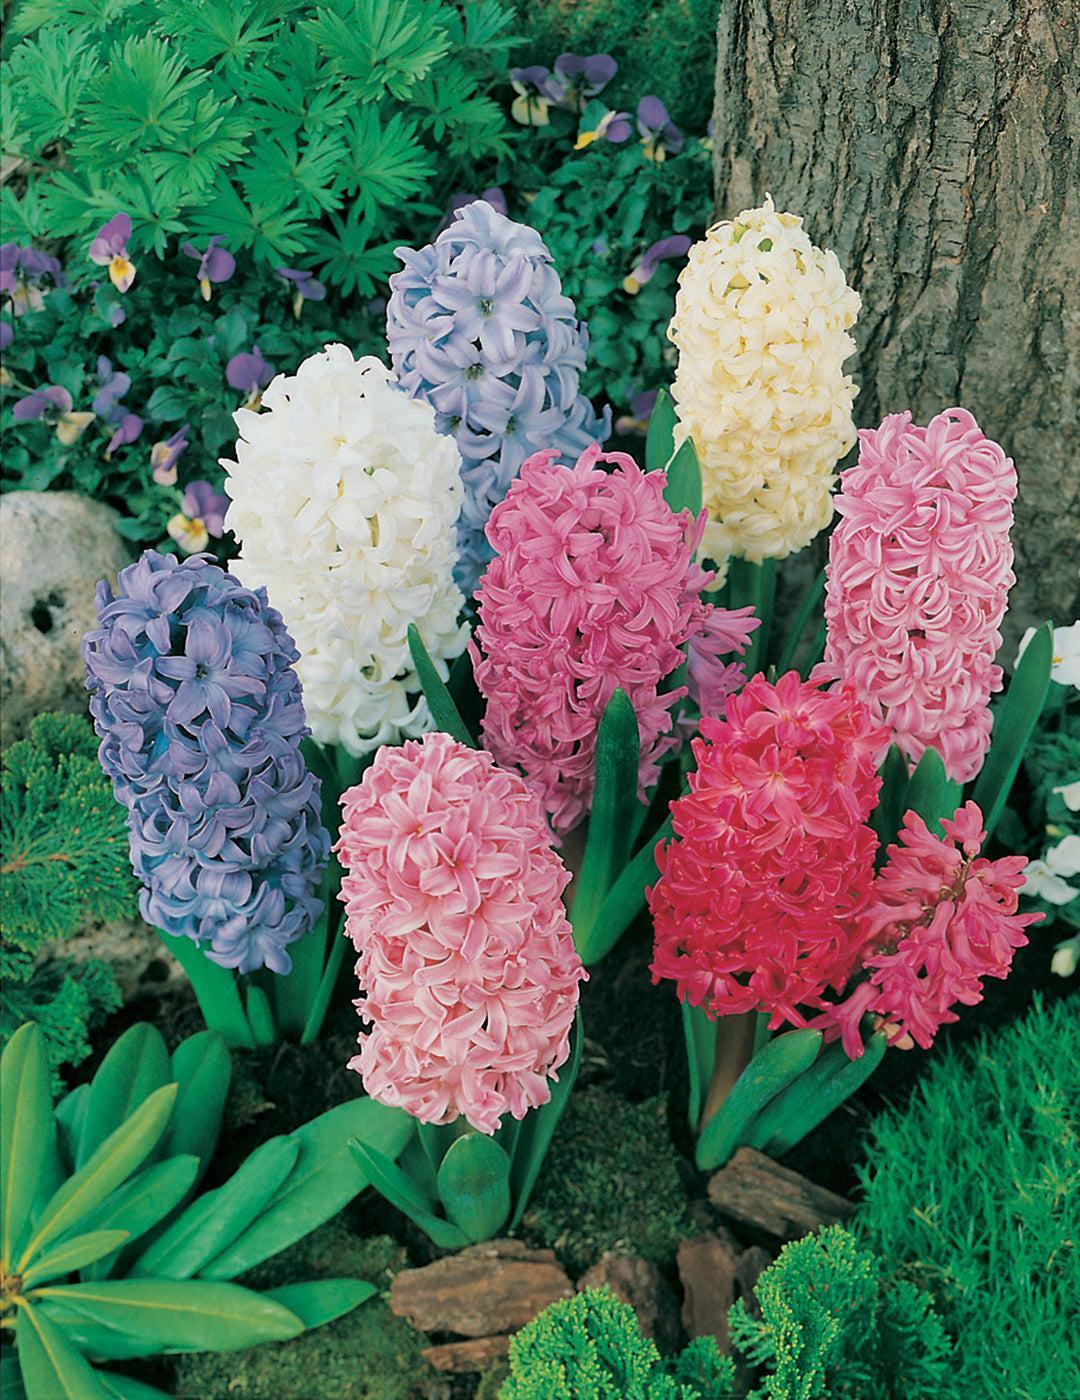
Planting the perfect spring bulb lasagne relies on selecting the right bulb combination. Not only does this decision determine the ‘natural’ look of the pot, with each layer of flowers following one another in a harmonious continuity, but it also results in different colour and variety mixes that can change the look and feel of your garden.
When selecting bulb combinations, try mixing colours and varieties. This can produce the effect of an ever-changing garden, always giving you something new to admire. Alternatively, combine compatible colours and shapes to strike a particular theme. For example, a soft pastel theme for a cottage-style look.
Will My Bulb Lasagne Reflower?
A spring bulb lasagne has a high chance of reflowering provided you allow your bulbs to completely die back after the flowering season before removing any foliage. This allows your bulbs to store all of their energy, which will mean a great display next year. Be sure to not disturb the soil in your pot or garden bed, as you will disrupt the layers, unless of course you wish to lift and divide your bulbs, which shouldn’t be required for a few years.
Shop for Your Spring Bulb Lasagne at Mr Fothergill’s
Now that you know how to plant the perfect spring bulb lasagne, Mr Fothergill’s has the perfect selection of bulbs and flower seeds you need to keep your garden full of continuous colour. Discover our range of flower seeds and bulbs, or contact us with any questions on how to plant the perfect lasagne.


